
Here’s How to Transcribe an Interview for Accurate Results (2 Proven Methods)

Quick Summary
Transcribing interviews can be time-consuming and tricky. This guide shows two proven methods: manual transcription and AI-powered transcription with WhisperTranscribe. You’ll learn step-by-step instructions, practical tips, and best practices to capture every word, stay organized, and turn recordings into accurate, searchable transcripts. Visit the WhisperTranscribe blog for more practical guides.
Looking for Effective Ways to Transcribe Your Interviews?
Transcribing interviews sounds easy until you try it. You often spend hours pressing play, pause, and rewind. Background noise and multiple speakers make the job even harder. Without a clear plan, it is easy to get stuck and lose focus.
This WhisperTranscribe guide shows you exactly how to transcribe an interview with high accuracy. You will learn two proven methods and how to choose the right one. We also share tips to help you avoid common mistakes during the process.
But first…
Why Listen to Us?
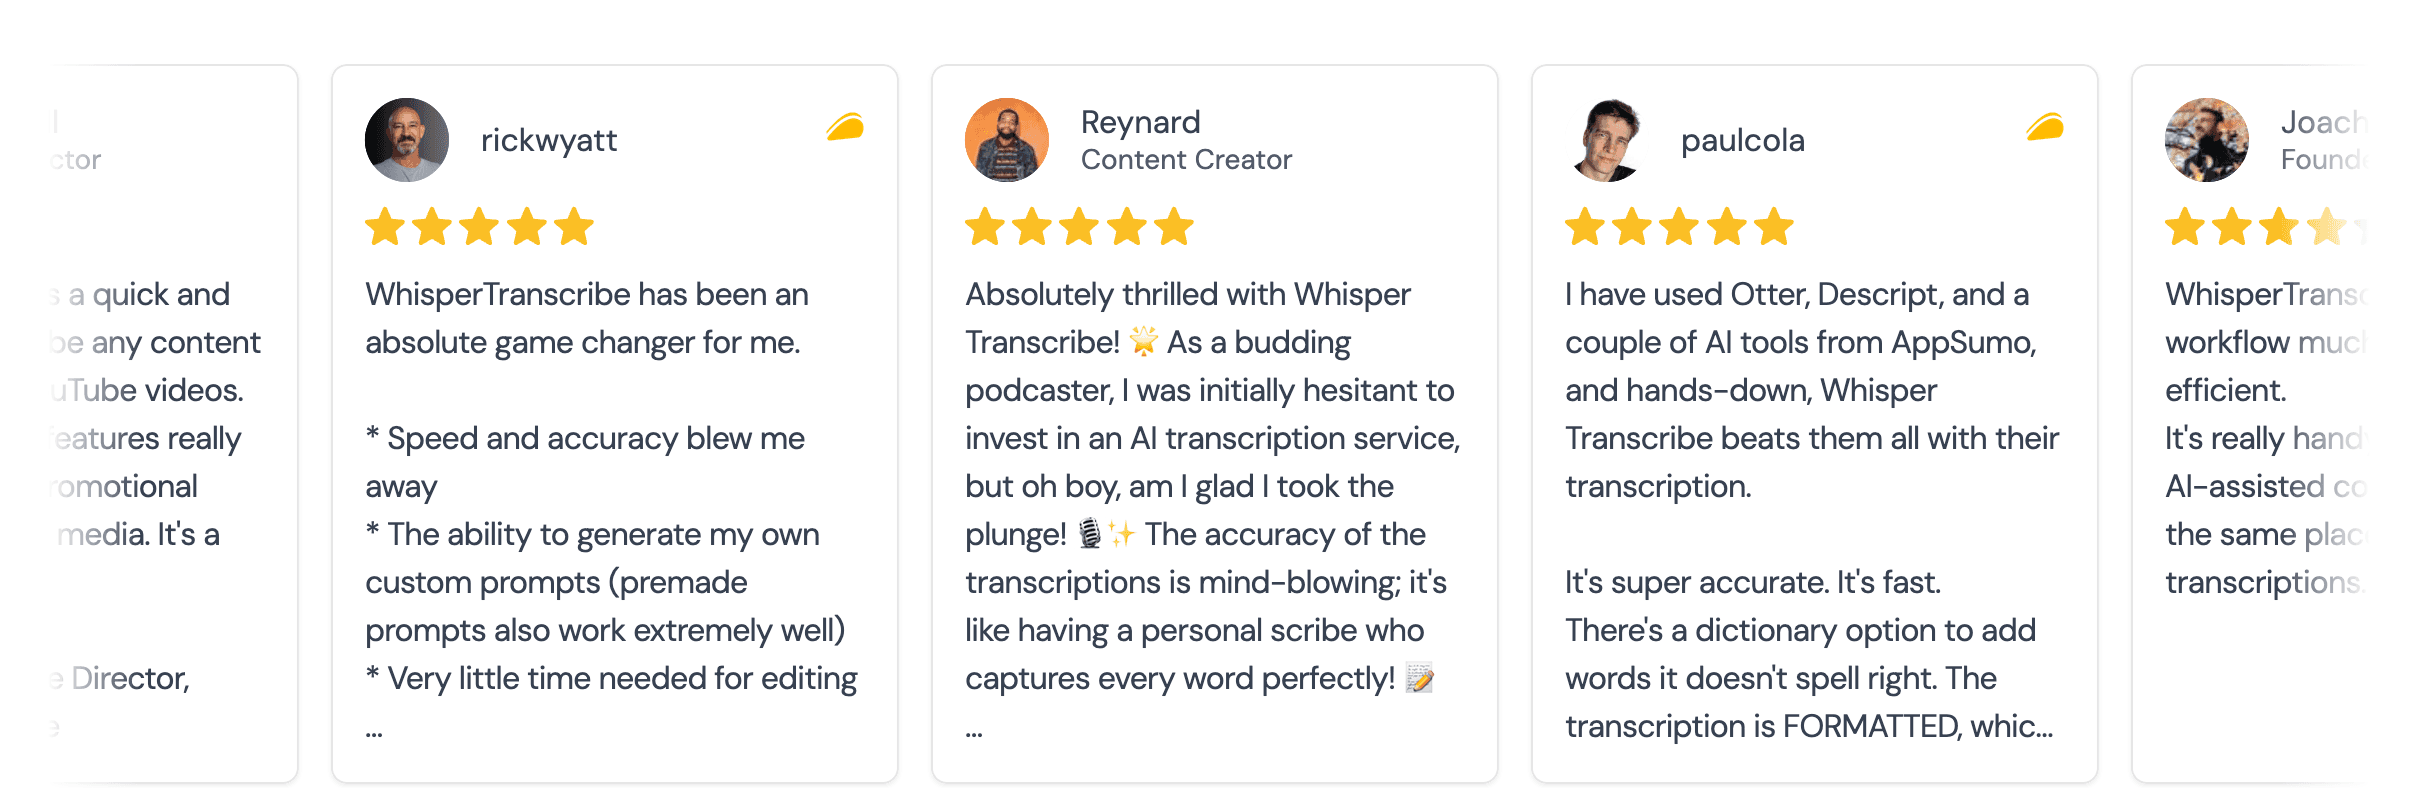
At WhisperTranscribe, we help creators and professionals turn audios into accurate texts every day. We understand both the technical side of speech recognition and the real challenges of transcription. This guide draws on that experience to show you practical ways to save time and produce clean, reliable transcripts.
What is Interview Transcription and Why Is it Important?
Interview transcription is the process of turning a recorded conversation into a written document. This could be a chat between a journalist and a source, a researcher and a participant, or a business meeting. The goal is to create a word-for-word record you can read, search, and share.
Why This Matters
Accuracy is the main reason people transcribe interviews. Relying on memory or quick notes risks losing context and key details. A full-text version allows you to:
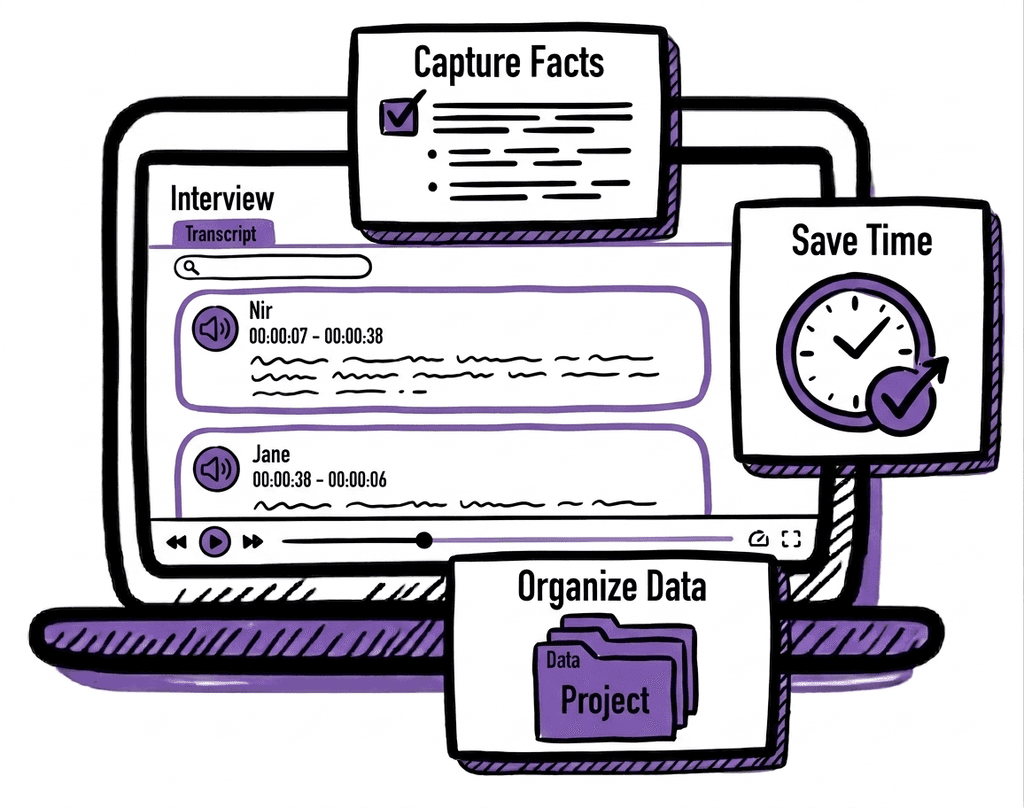
Capture Facts: You get an exact record of the speaker's words, which prevents misquotes.
Save Time: Searching for a keyword in a document is much faster than scrubbing through an hour of audio.
Focus on the Talk: When you know you are recording and transcribing later, you can listen more closely during the actual interview.
Organize Data: For researchers, a transcript makes it easy to categorize different themes or quotes for a study.
Whether you are a journalist writing a story or a student gathering data, transcription turns your audio into a tool you can analyze, reference, and share.
Method 1: How to Transcribe an Interview Manually
This is the traditional way to turn an interview recording into text. You don’t need to install any new software or download apps; just use the tools already on your computer.
It works well for short interviews or when you’re on a tight budget. While it takes more time, following a structured approach makes the process easier and helps you maintain accuracy throughout.
Step 1: Set Up Your Workspace
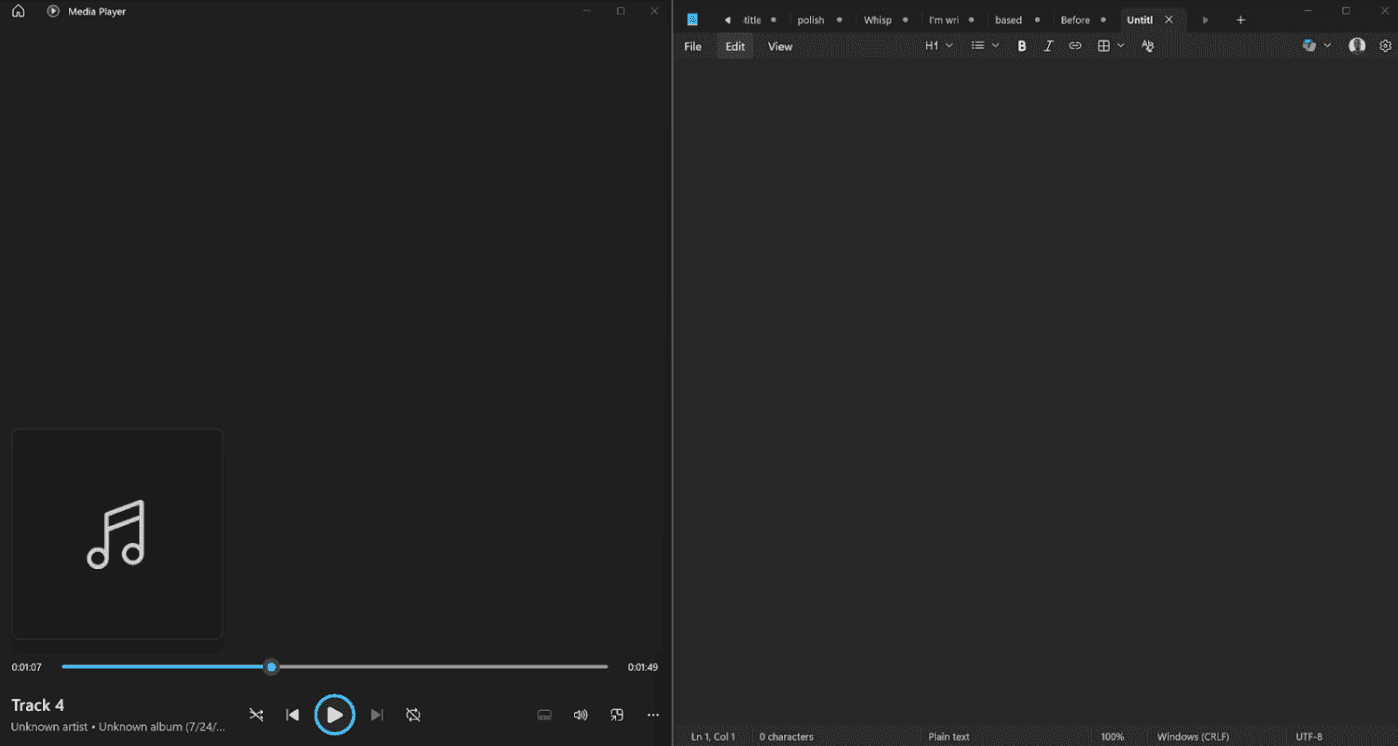
Start by opening your interview’s audio file in your computer’s default media player. On a Mac, this is usually QuickTime. On Windows, you can use Media Player. Make sure your headphones are plugged in to clearly hear every word.
Next, open a blank document in Microsoft Word, Google Docs, or Notepad. Position the windows side-by-side on your screen. This allows you to see your document while you control the audio player.
Here’s an example of what that would look like on a Windows computer.
Step 2: Start the Typing Loop
The typing loop requires you to listen in bits and write what you hear for each bit. Here’s how to do that:
Start playing the recording and listen to a short segment, usually about five to ten seconds.
Pause the player and type exactly what you heard in that segment.
If you miss a word, hit the "Back 5 seconds" button and listen again.
Don’t worry about perfect grammar in this first pass. Just focus on getting the words down instead of having a perfect transcription.
TIP: To work fast, you should avoid touching your mouse. Your mouse slows you down. Learn the "Play" and "Pause" shortcuts for your specific media player.
Step 3: Label the Speakers
An interview usually involves two or more speakers. Labeling them properly helps you keep track of the conversation accurately.
Every time the speaker changes, start a new paragraph. Write the name of the person in bold letters, followed by a colon. For example:
Interviewer: How did you start your career?
Subject: I began working in a small office in London.
For multiple participants or subjects, you can have “Participant 1,” Participant 2,” and so on, or just use their names. Also, note important pauses, laughter, or emphasis where relevant. Adding context helps make the transcript easier to read and more useful later.
Step 4: Add Manual Timestamps and Key Moments
Insert timestamps at regular intervals or when topics change. Doing these helps you find specific parts of the talk later without replaying the entire interview audio.
Every two or three minutes, type the current time from the audio player into your document. Format it like this:
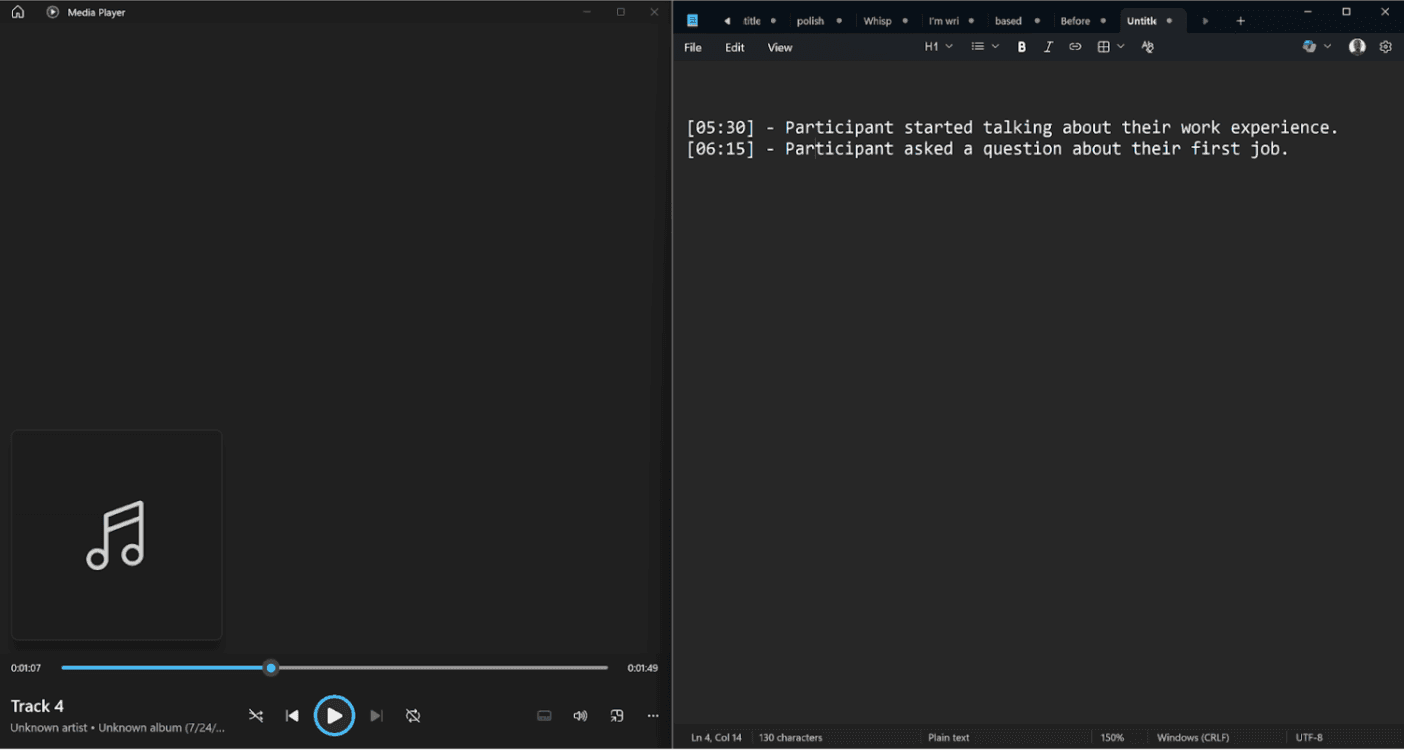
[05:30] - Participant started talking about their work experience.
[06:15] - Participant asked a question about their first job.
Timestamps are especially helpful if you need to check a specific quote later.
Step 5: Review and Polish
After completing each section, read through your transcript while playing the audio. This helps catch typos, missing words, or unclear phrases. Adjust speaker labels and timestamps as needed.
Once the last section is transcribed, do a final check to ensure your transcript is accurate and ready to use.
TIP: Take short breaks between segments to maintain focus and accuracy, especially for longer recordings.
Method 2: How to Transcribe an Interview with WhisperTranscribe
If you want to save hours of manual work, using an automated tool is the best choice. WhisperTranscribe uses advanced AI to turn audio into text with about 95% accuracy. It handles background noise and different accents much better than basic tools.
The best part is that it does more than just type. It can identify different speakers and even help you write a blog post or social media update based on the interview.
Step 1: Download and install WhisperTranscribe
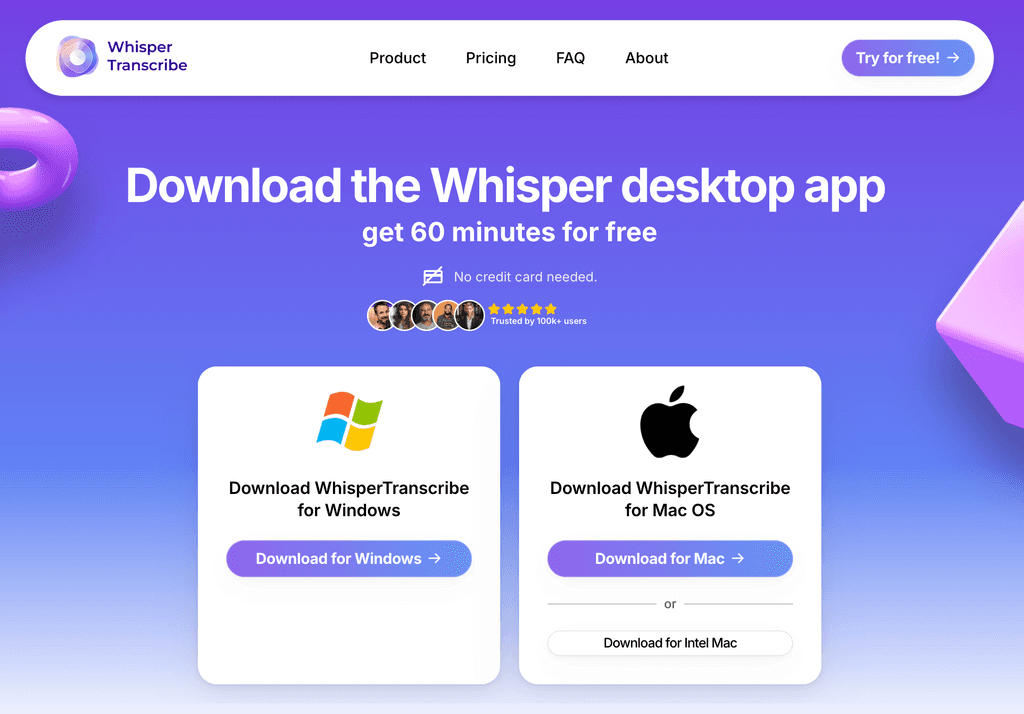
First, visit our website to download the WhisperTranscribe desktop app. Click the “Try for Free” to open the download page. Then choose the version that fits your computer, whether you use a Mac or Windows.
After download, follow the simple prompts on your screen to complete the installation. Once the app is ready, open it and create your account to begin.
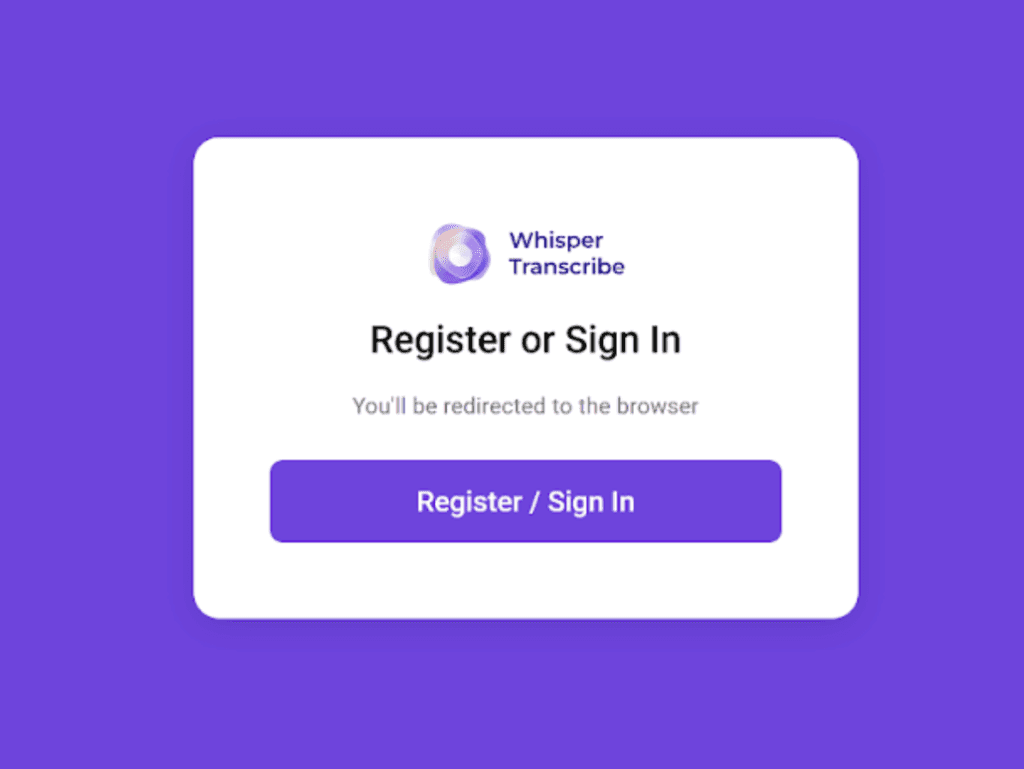
Once you’ve created your WhisperTranscribe, you’ll be signed in automatically. Then, you can proceed to the next step, which is to upload or record your interview.
Step 2: Upload or Record Your Interview
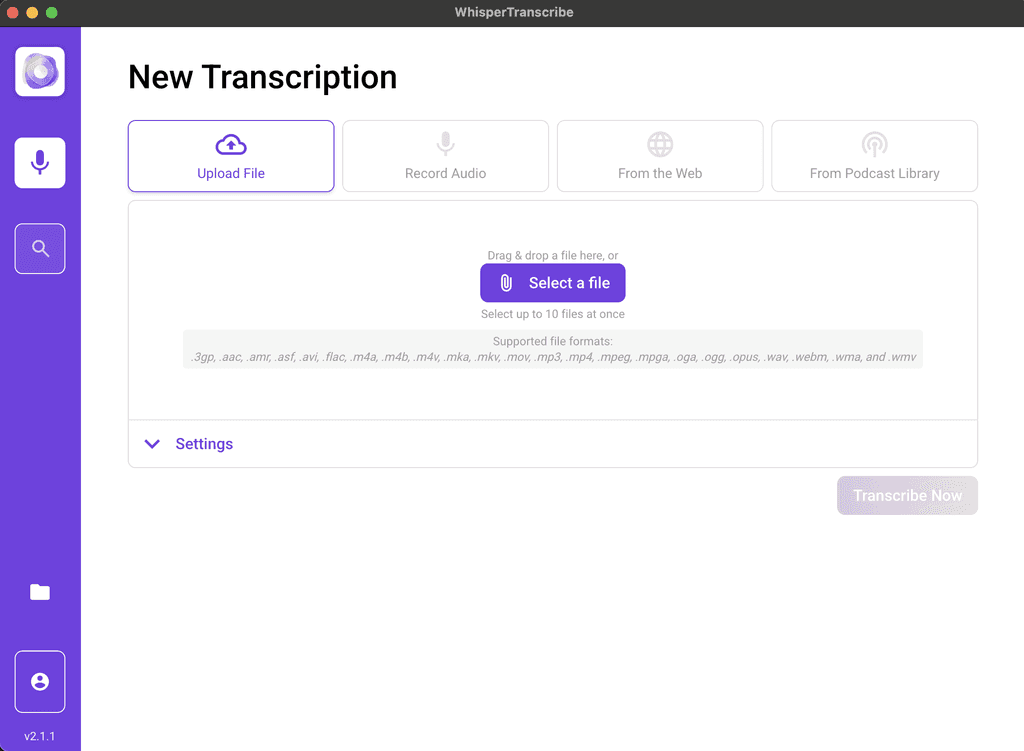
WhisperTranscribe works with audio and video from multiple sources. You can:
Upload a file directly from your computer (supports common video and audio formats). You can even select multiple files at once.
Record live audio from your microphone, capturing yourself or participants in a meeting.
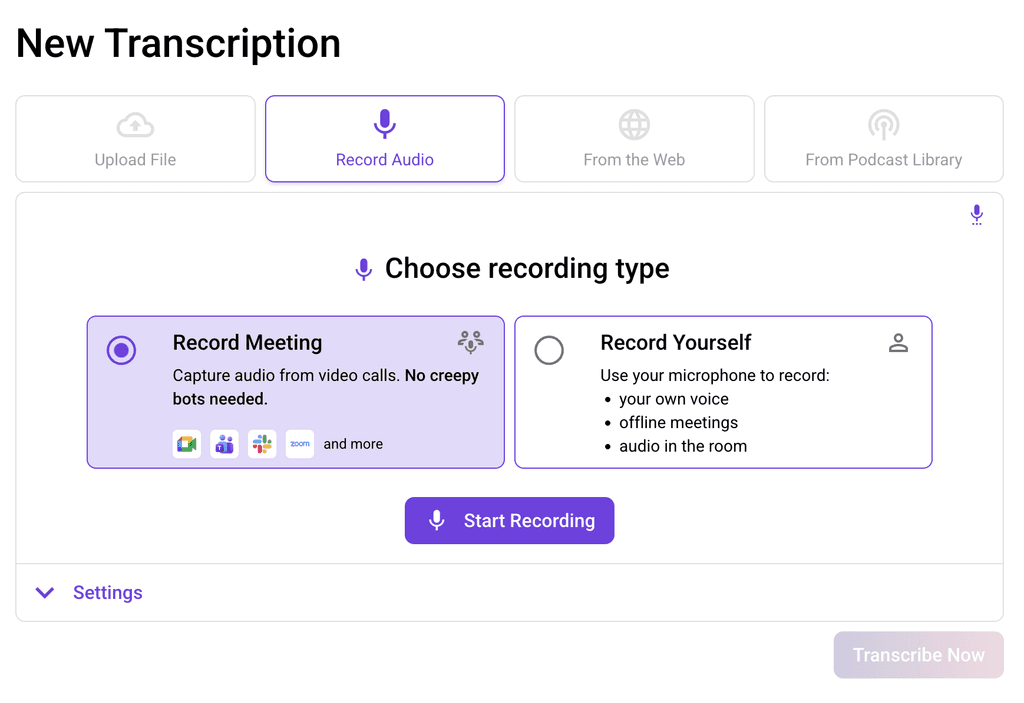
Import from the web by pasting a YouTube, Vimeo, or other link.
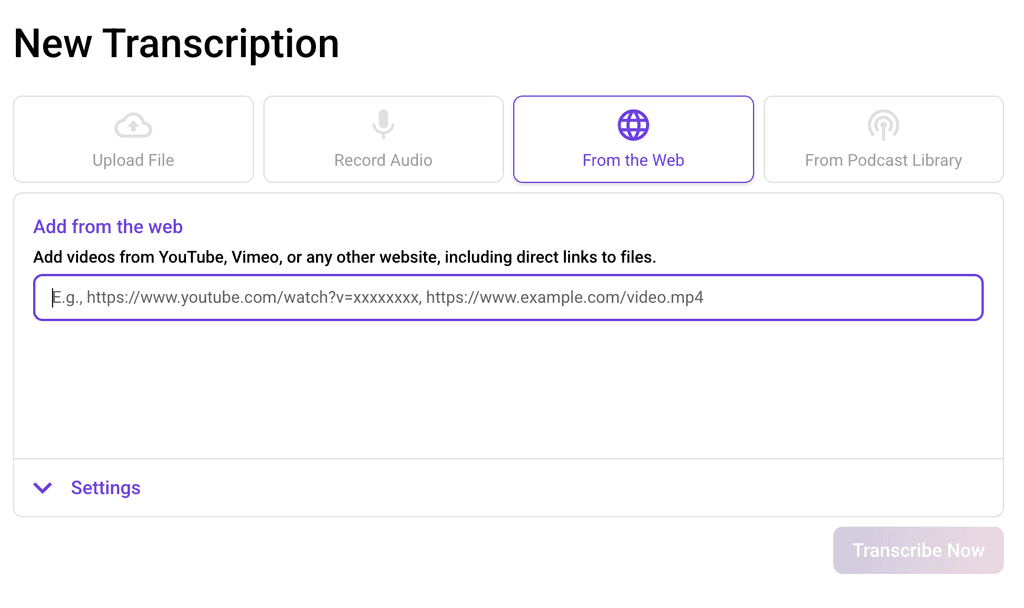
Transcribe podcasts by searching via title, host, or RSS feed using our built-in search.

The upload flexibility ensures you can transcribe your interviews from multiple sources, whether they’re on your device or somewhere in the cloud.
Step 3: Set your Parameters
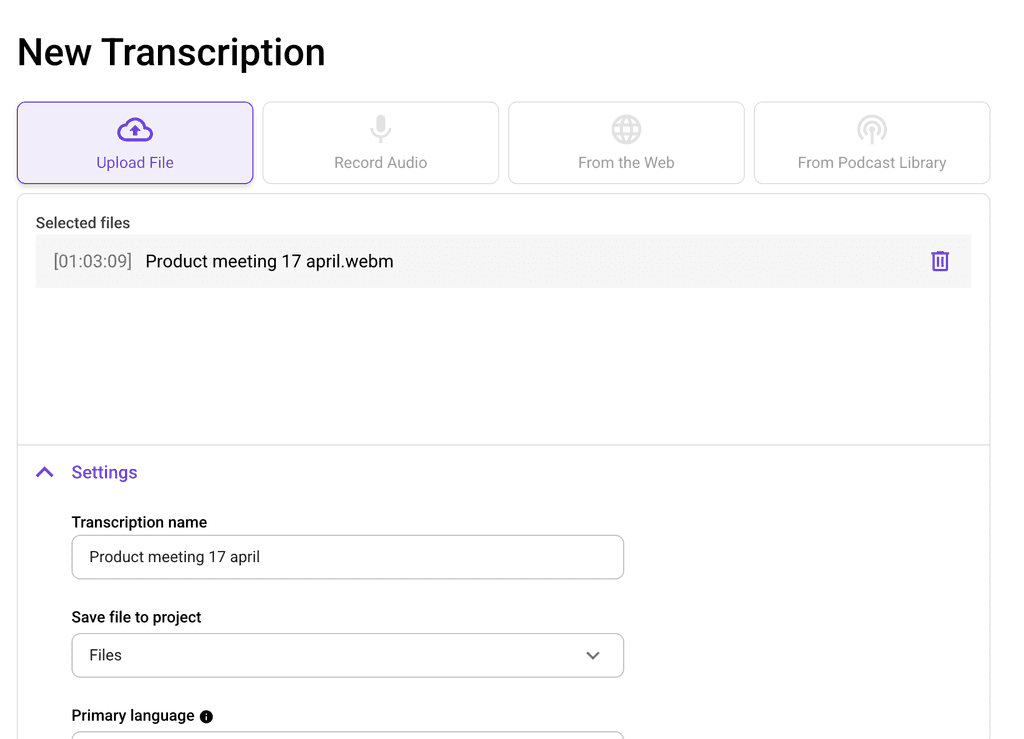
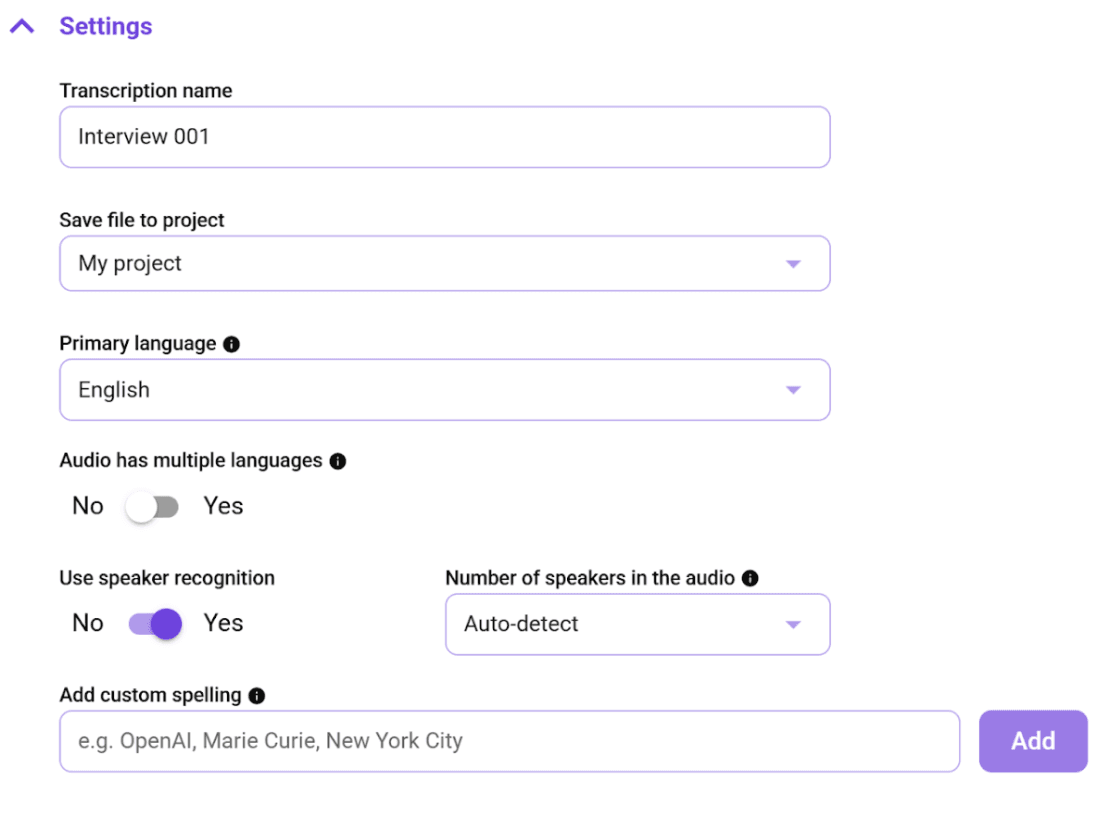
Once your file is selected, you can tell WhisperTranscribe exactly how to handle it with the options under the “Settings” tab.
This is where you:
Set a name for your AI transcription: You can give your interview transcription any name you want in our AI transcription app.
Select your folder: Choose where you want to save the final transcript on your device. For example, you can save it in the projects folder.
Choose the language: Select the primary language spoken in the interview. WhisperTranscribe currently supports transcription in 55+ languages.
Toggle on/off multiple languages: This is important if your interview audio has multiple spoken languages. WhisperTranscribe can detect up to 5 languages in a single clip.
Turn on speaker recognition: This is a vital step for interviews. The AI will detect when a new person starts talking and label them as "Speaker 1," "Speaker 2," and so on. Alternatively, you can specify the number of participants manually.
This ensures WhisperTranscribe processes your interview correctly to give you an accurate transcript.
Step 4: Start the AI Transcription
Click “Transcribe Now” and let WhisperTranscribe handle the rest. Our AI-powered engine quickly processes your audio, even for long recordings up to ~5GB.
While the transcript is being generated, you don’t need to pause or manually type anything. Our system automatically detects:
Multiple speakers, labeling each line accurately.
Background noise, accents, and overlapping speech.
Timing, so you can use the transcript for subtitles or quotes.
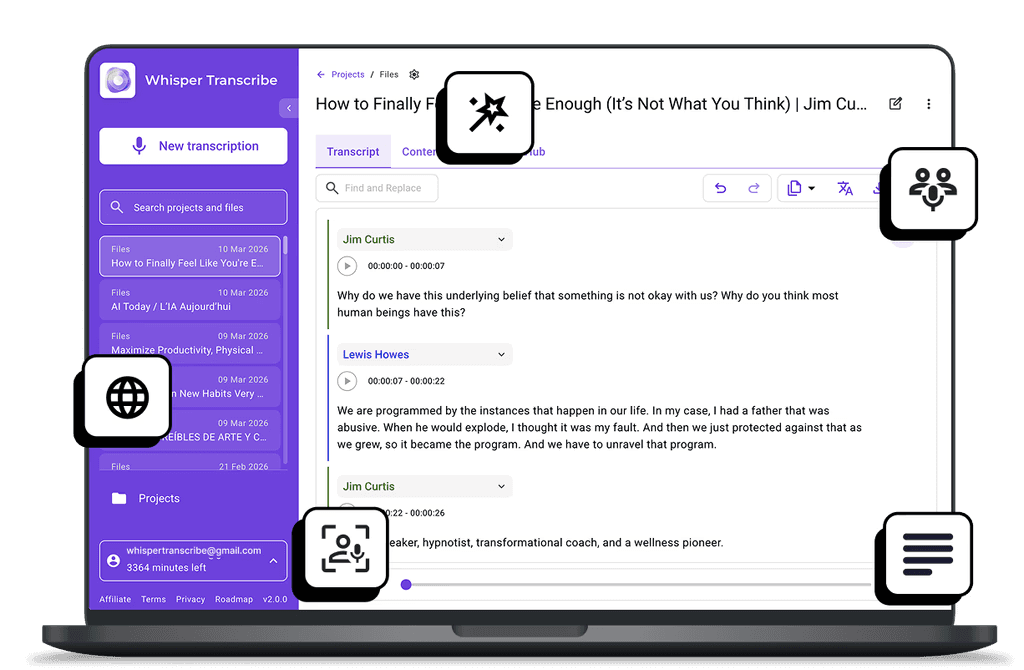
Step 5: Review and Edit
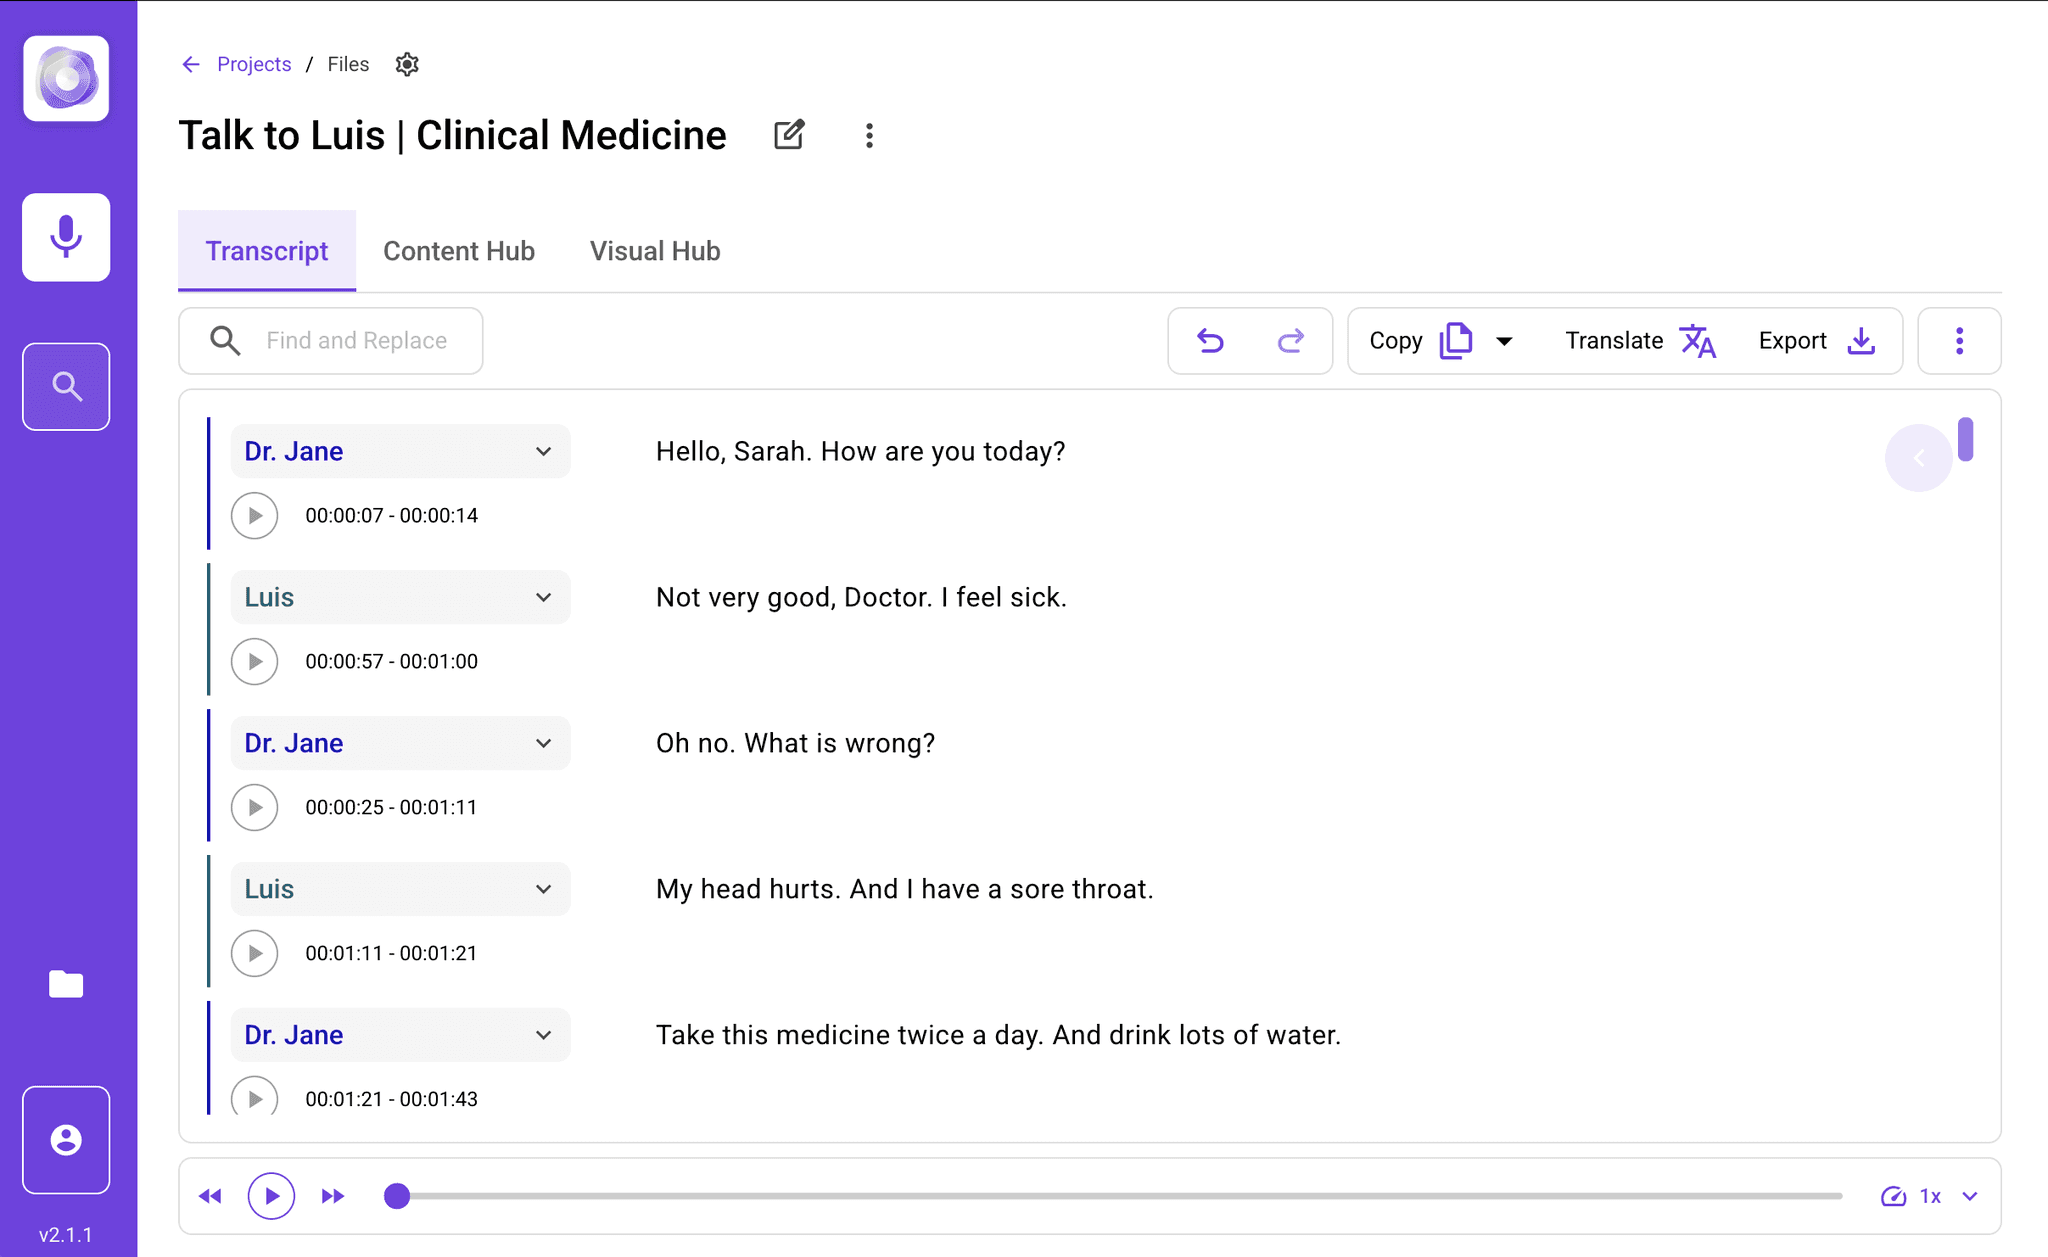
Once the transcript is ready, it automatically opens up in our in-built editor as shown below:
Then, you can:
Listen to any section while following along with the text.
Correct any minor errors or unclear words directly in the interface.
This step ensures your transcript is fully accurate and ready to use without hours of manual typing.
Step 6: Translate, Export, and Repurpose
WhisperTranscribe goes beyond basic transcription. You can also translate and repurpose your transcript.
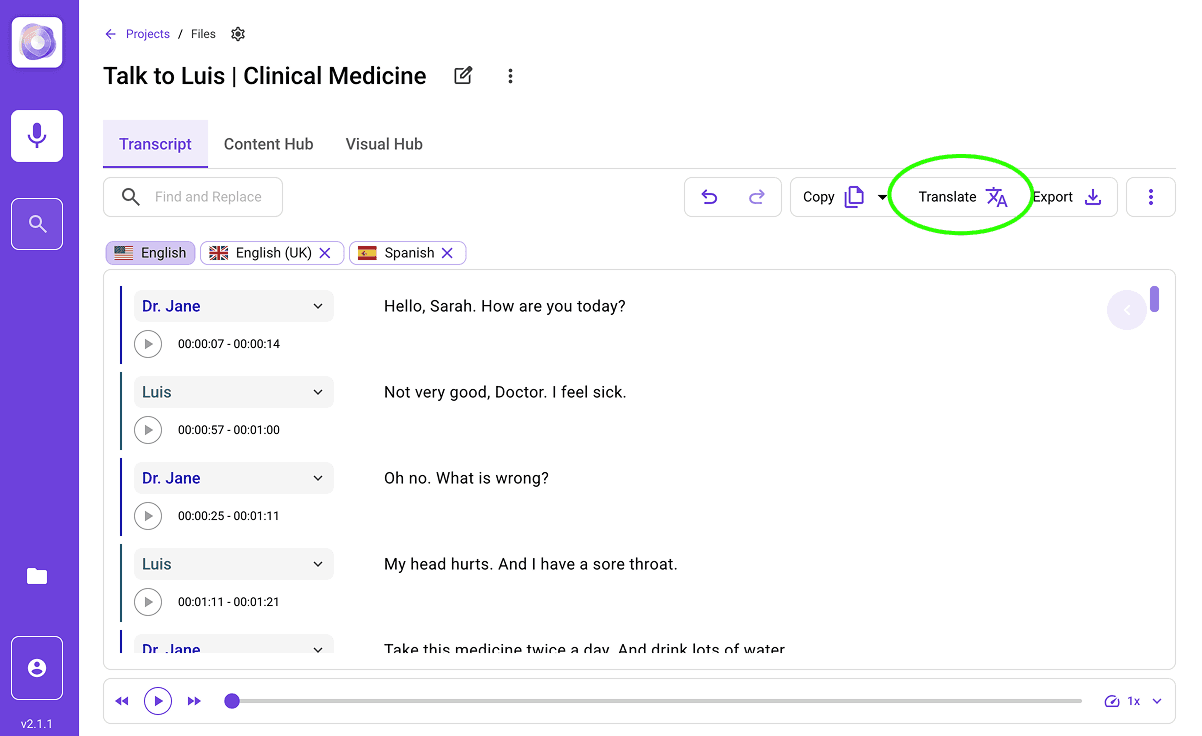
Translation
Convert your transcript into 99+ languages while keeping timing intact. Simply click the “Translate” button and pick your preferred language from the options available.
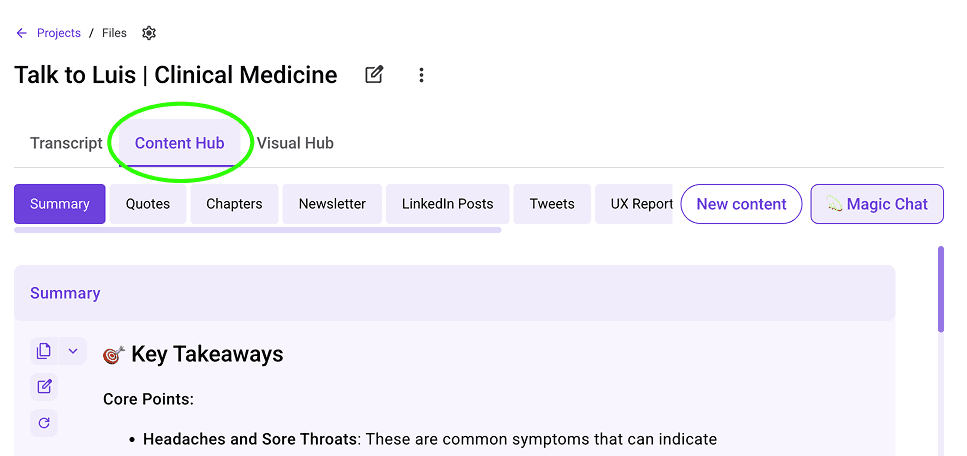
Content Repurposing
Turn your transcript into blog posts, social media snippets, reports, show notes, or newsletters. Simply click the “Content Hub” tab and choose your preferred content type.
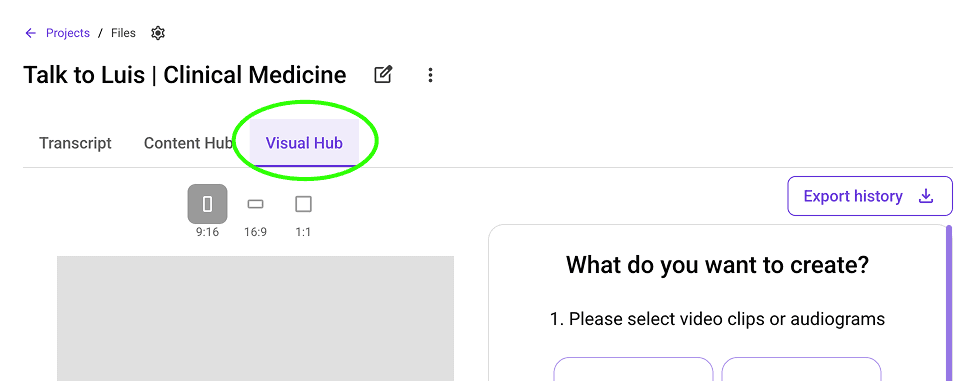
Create Video Clips
If you want to share key moments quickly, you can also use automated clip creation and our AI Clip Finder to extract highlights for social platforms. These options are available in the “Visual Hub” tab.
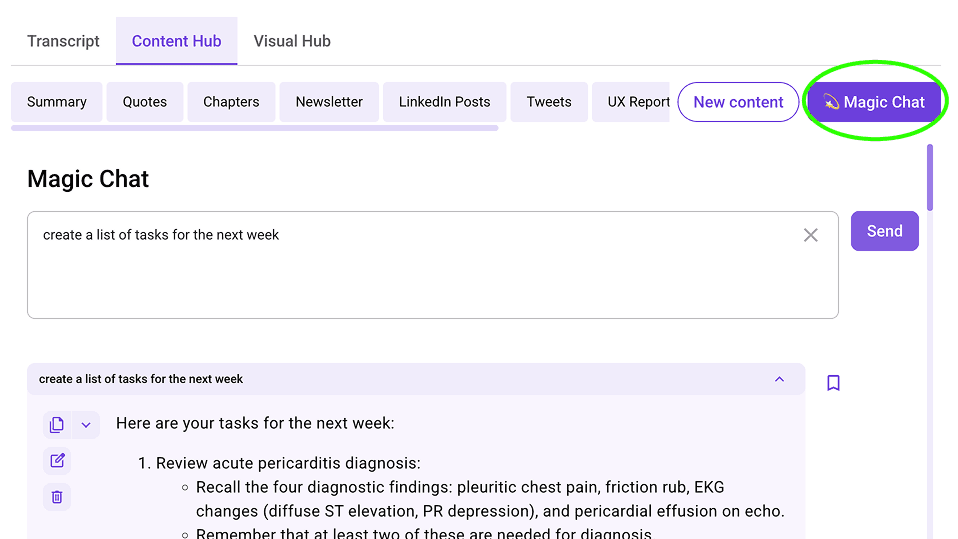
Magic Chat
From here, you can use the Magic Chat feature to generate summaries and derive insights. Instead of reading the whole text, you can ask the AI, "What were the three main points discussed?" or "Write a summary of this interview."
Finally, you can also export the file as a Word document, a text file, or even SRT subtitles if you want to add captions to a video.
Best Practices for Transcribing Interviews
Whether you transcribe manually or use WhisperTranscribe, following a few simple habits can improve accuracy and make your transcripts easier to use.
These practices help you save time, reduce errors, and get the most value from your recordings:
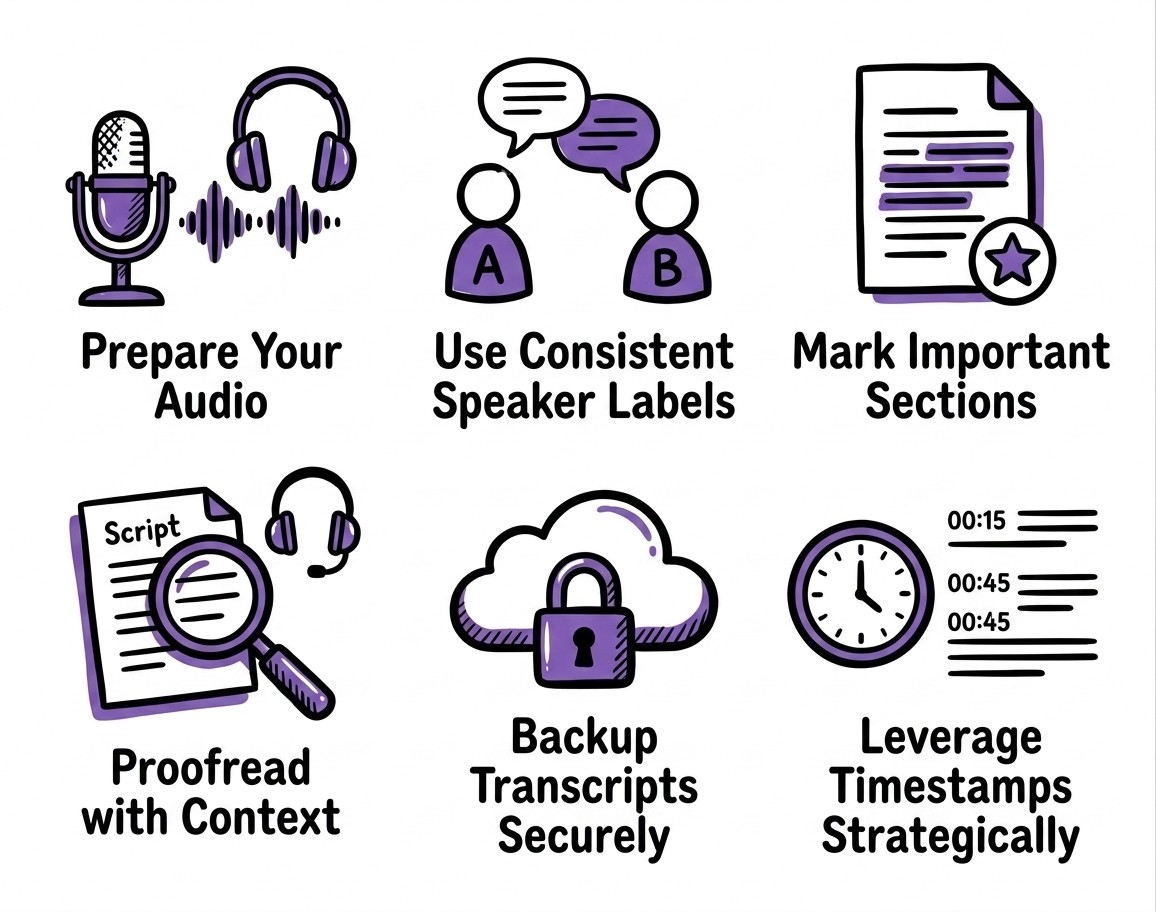
Prepare Your Audio: Check sound quality and minimize background noise before starting the recording.
Use Consistent Speaker Labels: Decide on a naming convention early to keep multi-speaker interviews clear.
Mark Important Sections: Highlight key moments during the transcription to make later referencing faster.
Proofread with Context: Read through transcripts while listening to the audio for nuance, tone, and emphasis.
Backup Transcripts Securely: Store your files in a safe location to prevent loss and ensure long-term accessibility.
Leverage Timestamps Strategically: Use them to quickly locate topics, quotes, or action items without replaying the entire interview.
Transcribe Your Interviews Effectively with WhisperTranscribe
Transcribing interviews doesn’t have to be complicated. Whether you prefer the traditional manual method or a faster, more accurate approach, having a clear process ensures your transcripts are reliable and usable. For those looking to save time and reduce errors, WhisperTranscribe offers a powerful solution.
WhisperTranscribe uses AI to turn audio and video into accurate transcripts quickly. With features like speaker recognition, translation, flexible exports, and content repurposing, it makes transcription simple, fast, and secure for creators, professionals, and teams.
Try WhisperTranscribe for free and turn your interviews into ready-to-use transcripts in minutes.

