
How to Use Otter AI to Transcribe YouTube Videos [+ Better Alternative]

Quick Summary
This guide explains how to use Otter AI to transcribe YouTube videos and where the workflow can become limiting. You’ll learn the exact steps to transcribe a YouTube video with Otter, the main drawbacks of its setup, and why WhisperTranscribe offers a faster, more complete alternative for transcription and content repurposing. Visit the WhisperTranscribe blog for more practical guides.
Trying to Use Otter AI to Transcribe YouTube Videos?
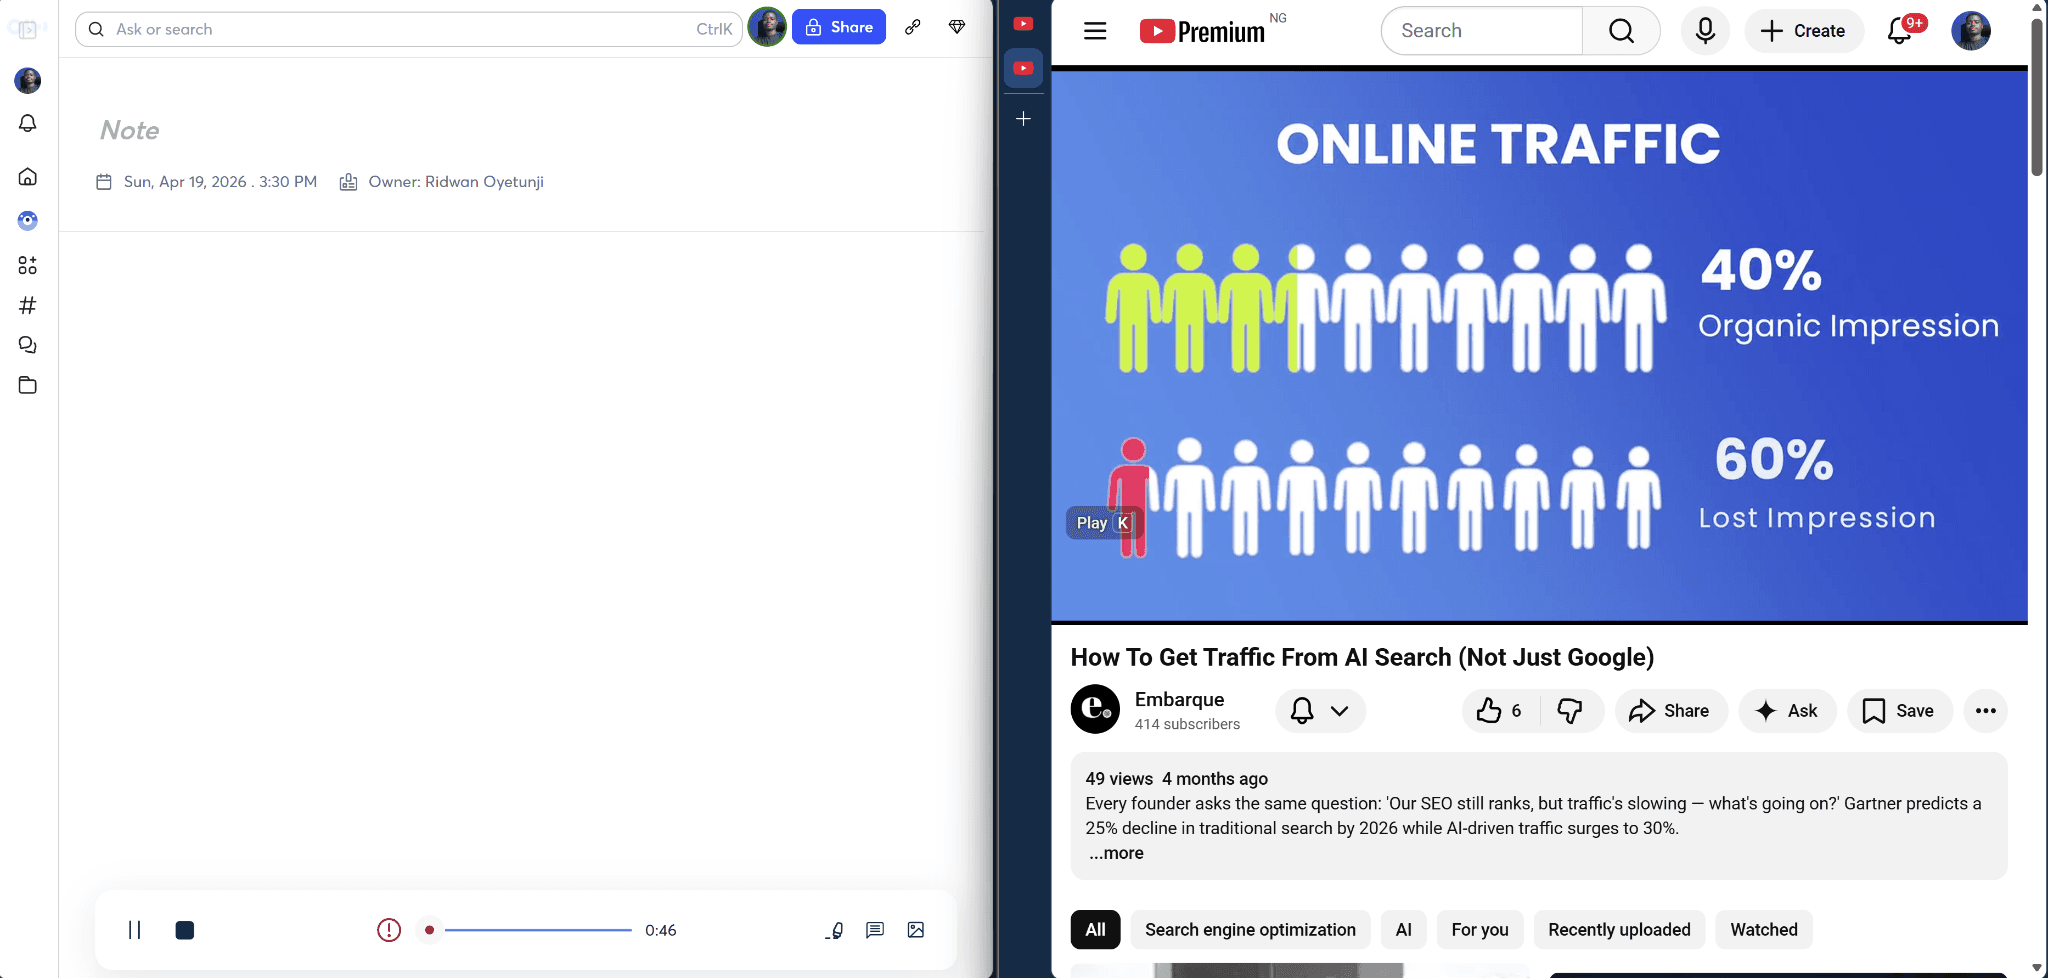
Transcribing YouTube videos is one of the easiest ways to turn video content into something you can search, reuse, and share. Many people turn to Otter AI for this, but using it with YouTube isn’t always straightforward.
In this WhisperTranscribe guide, we’ll show you how to use Otter AI to transcribe YouTube videos step by step. We’ll also show you where it falls short and a better alternative if you want a faster, more efficient workflow.
Why Listen to Us?
We work on transcription workflows every day at WhisperTranscribe, especially for creators, marketers, and teams who need to turn video into useful written content. That hands-on experience shapes this guide, so the steps, limitations, and alternatives covered here reflect real-world transcription needs rather than theory.
What Is Otter AI and How Can It Help With YouTube Transcription?
Otter AI is an AI transcription tool that converts spoken audio into written text, either in real time or from uploaded recordings. People often use it for meetings, interviews, lectures, and voice notes because it can quickly turn speech into editable transcripts.
So, how does it work for YouTube transcription?
While Otter AI isn’t built specifically for YouTube videos, you can still use it to get transcripts from them. You can either play the video and let Otter record the audio or upload a downloaded YouTube video file. From there, Otter generates a transcript you can review, edit, and export.
How to Use Otter AI to Transcribe YouTube Videos
Now that you understand how Otter AI works for YouTube transcription, let’s walk through the exact steps to transcribe a YouTube video using its available upload and recording methods.
Step 1: Get the YouTube Video Ready
Start by opening the YouTube video you want to transcribe. Before you move into Otter, decide how you want to handle the input. You have two options:
Download the YouTube video (or audio) file using a third-party service or tool.
Record the video as it plays using Otter AI's built-in recording feature.
TIP: Importing a downloaded file is generally more stable than real-time recording. That’s because it gives you a cleaner transcript and avoids background noise from your device when recording.
Step 2: Upload the Video File
If you choose to download the video, save it to your device as an MP4 or audio file like an MP3. Once that’s done, open Otter AI and click the Import button.
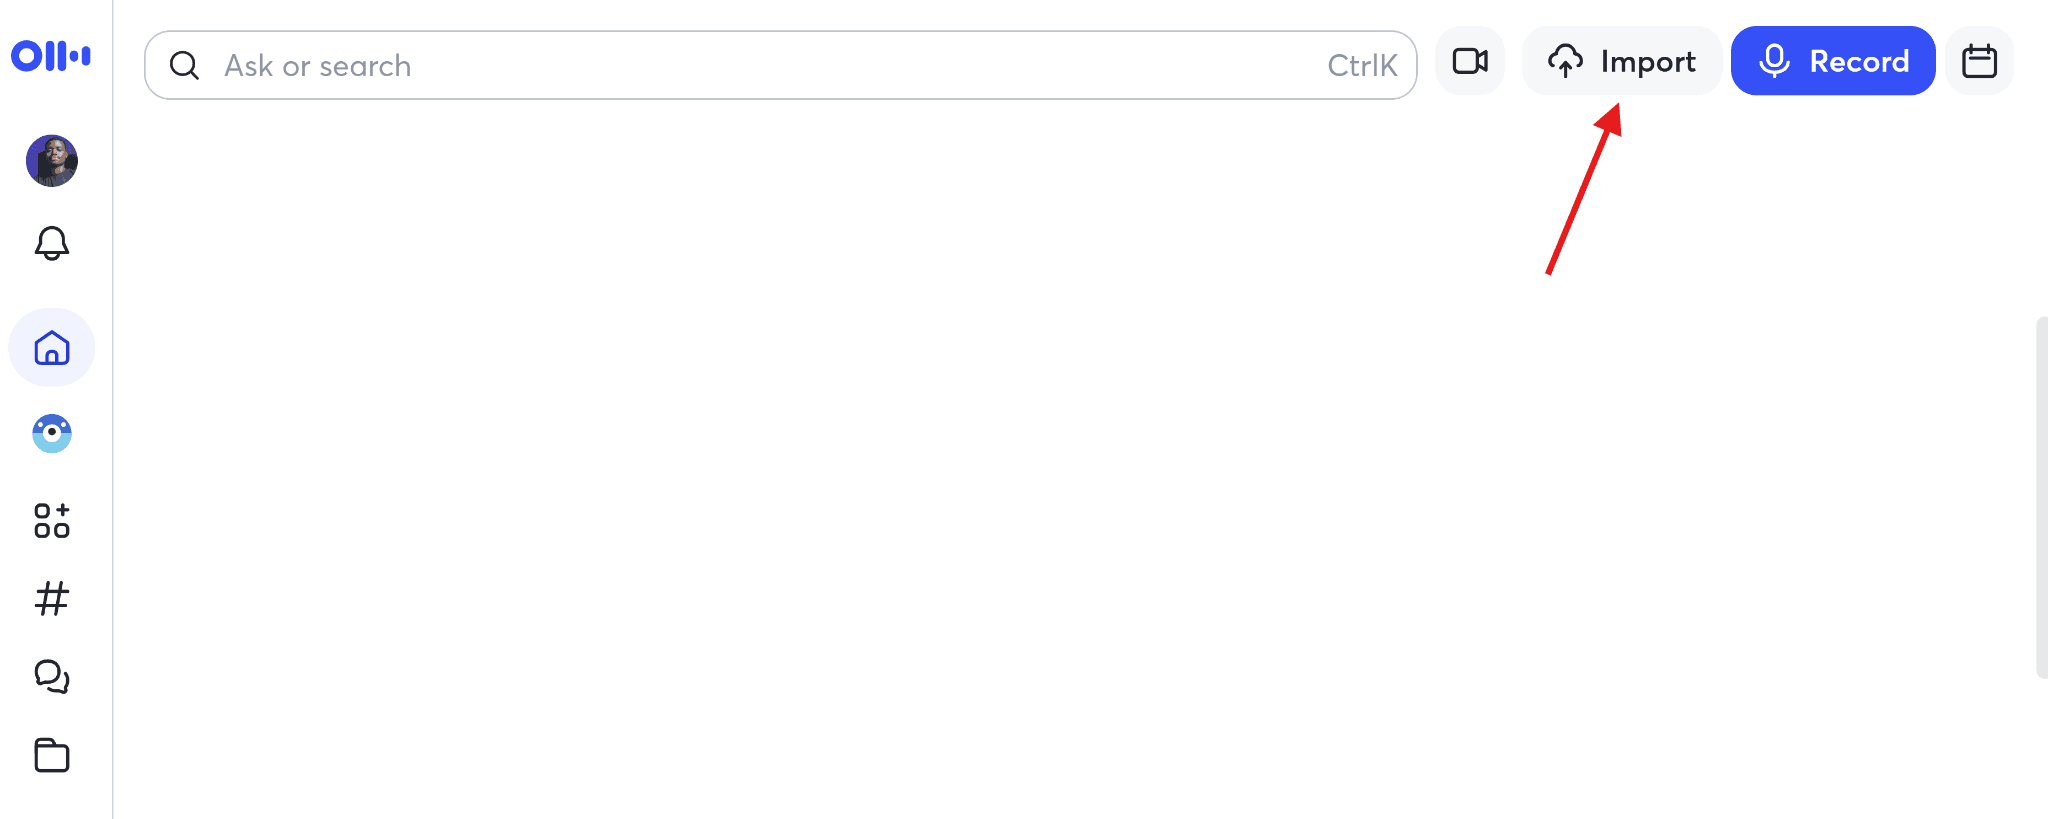
Then upload your file or drag and drop it into the upload area. Otter supports common formats, so you don’t need to convert the file in most cases.
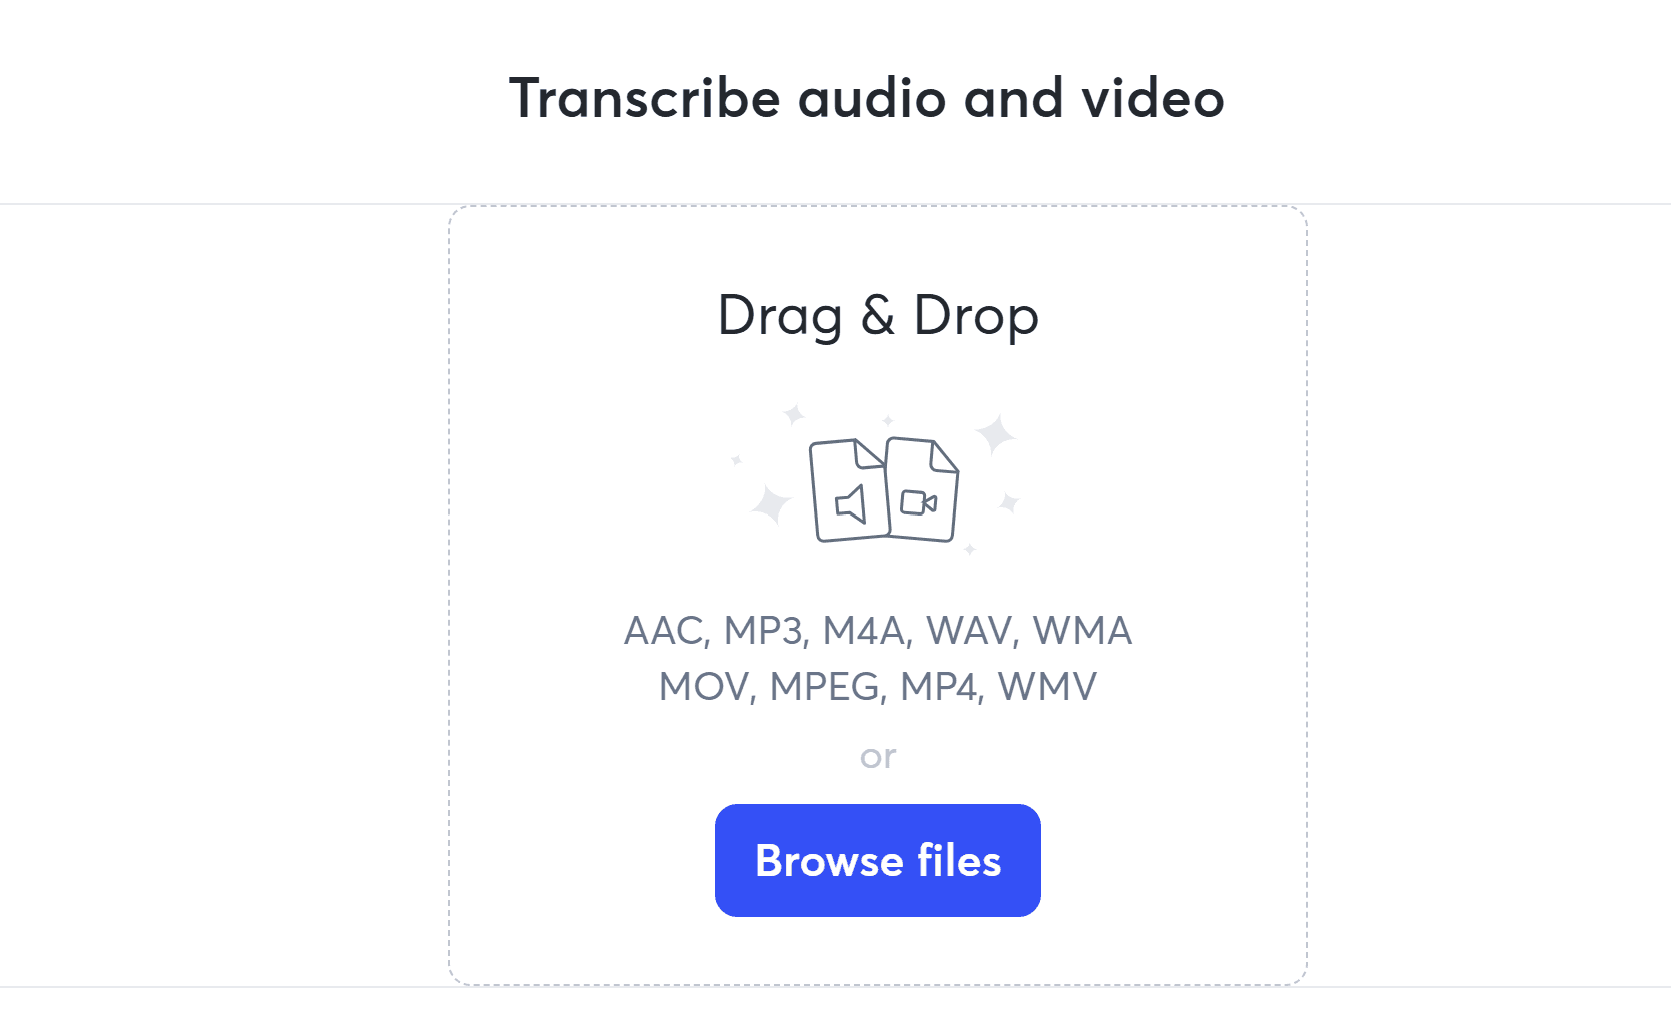
After uploading, Otter will begin processing the file automatically. Keep in mind that upload time depends on your internet speed. Also, transcription time can take up to the length of the video.
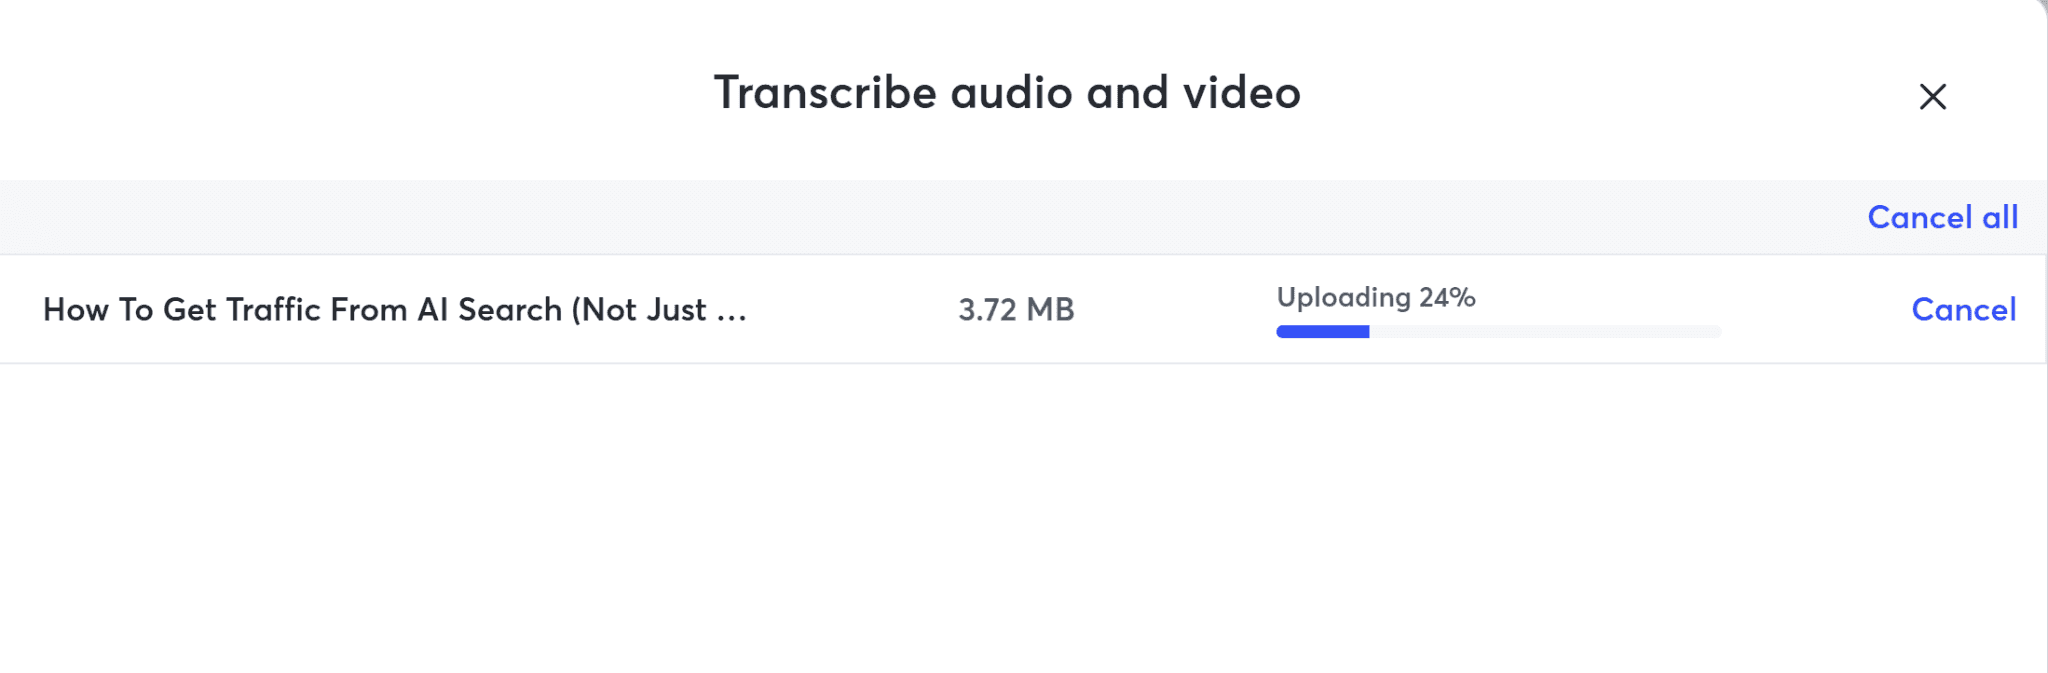
Once the upload is complete, you can click “Go to Transcript” and wait for the full transcript to finish processing.

Step 3: Record the YouTube Video (Alternative Method)
If you can’t download the YouTube video directly to your device, you can use Otter’s recording feature instead. To do this, open Otter in one tab and the YouTube video in another.
Then, start a new recording in Otter and play the video in the other tab. Otter will transcribe the audio in real time as the video plays.
This method works, but it has a few limitations:
You need to let the full video play through
You can’t use headphones (it relies on system audio)
Any background noise or interruptions may affect accuracy
Because of these limitations, recording is best used as a fallback option.
Step 4: Review and Edit the Transcript
Once Otter finishes processing, open the transcript and review it carefully.
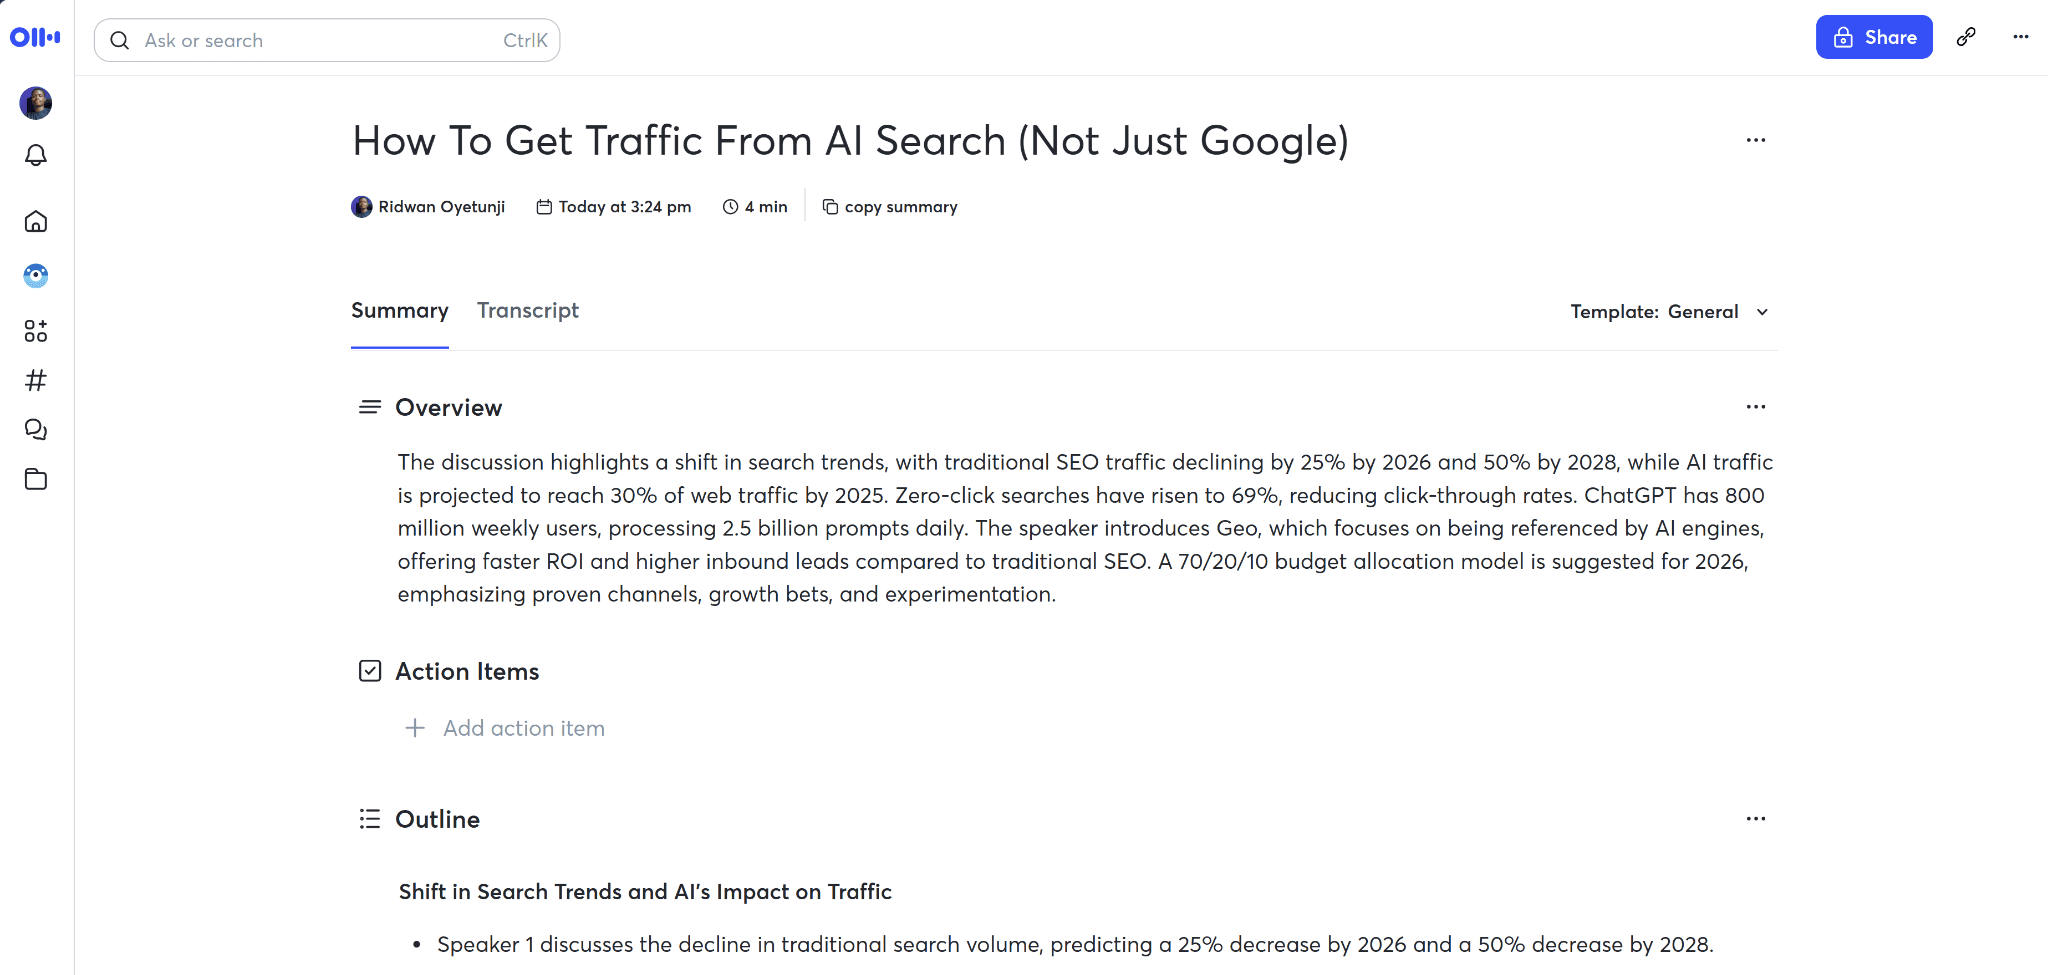
At this stage, you can fix incorrect words or phrases, adjust speaker labels, or highlight key sections. Otter may also generate summaries or outlines depending on your plan. Still, you’ll likely need to make some manual edits, especially if the audio wasn’t clear.
Step 5: Export the Transcript
After reviewing your transcript, you can export it for use elsewhere.
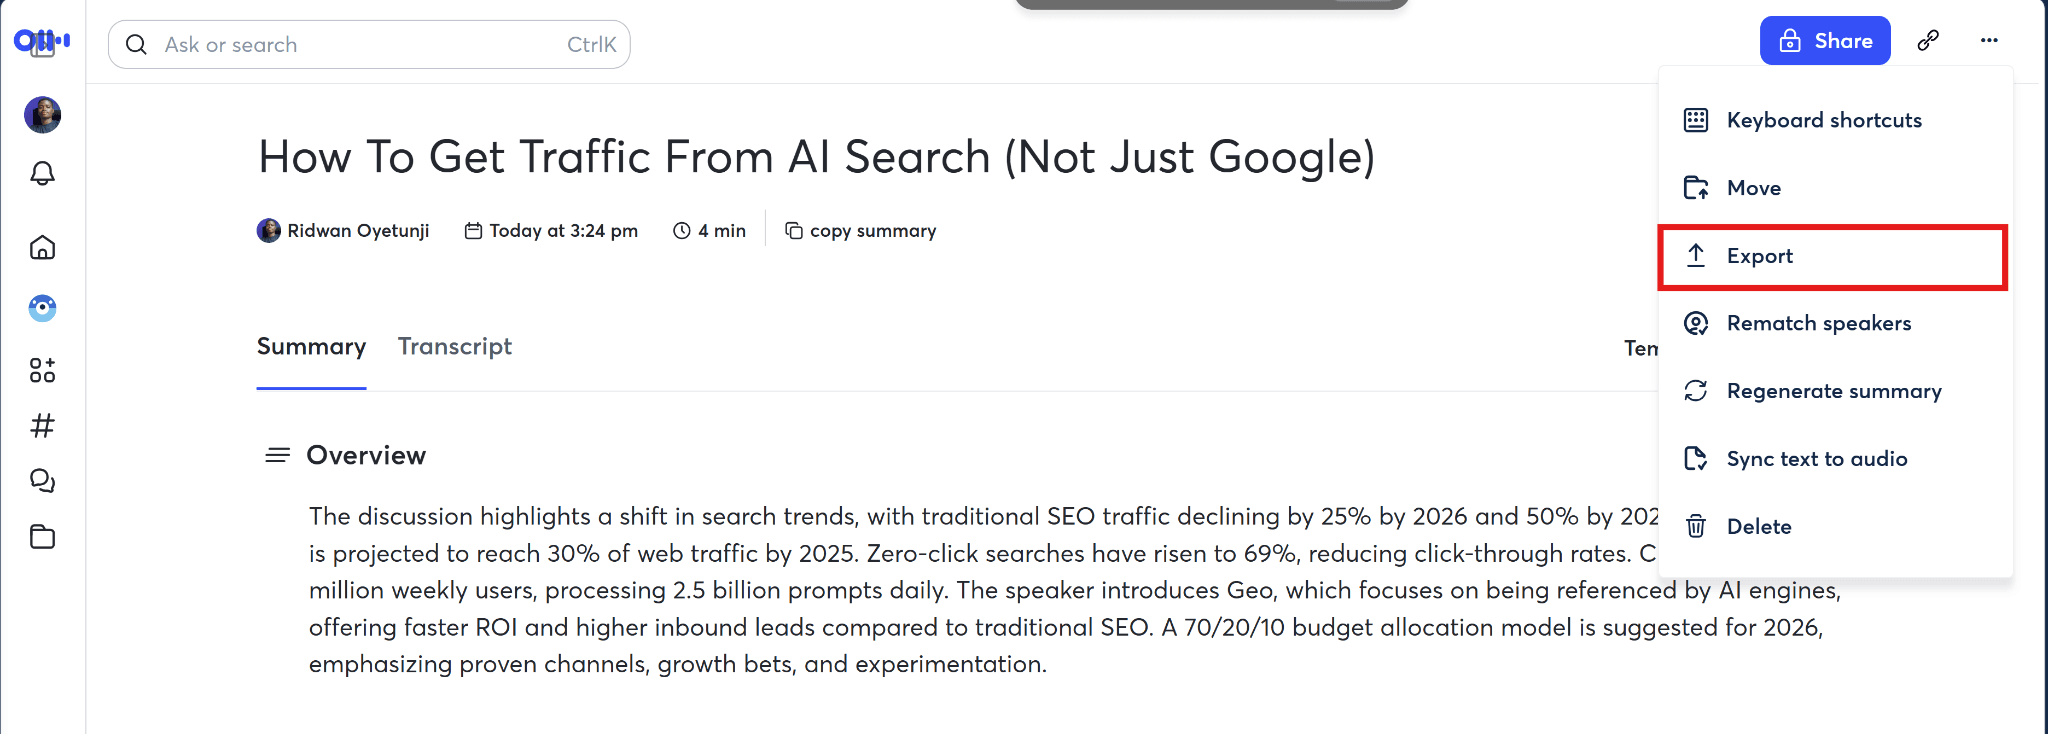
Otter allows you to:
Copy the text directly
Export as TXT, DOCX, or subtitle files (SRT) if you’re on a paid plan
From here, you can use the transcript for captions, blog content, notes, or research.
Where Otter AI Falls Short in YouTube Transcription
Otter AI can transcribe YouTube videos, but the workflow comes with a few tradeoffs. If you only do this once in a while, they may be manageable. But if YouTube transcription is part of your regular process, these limits can slow you down.
No direct youtube import: Otter does not support direct link ingestion. You need to download the video or use the recording workaround.
Extra setup required: Downloading files or setting up recordings adds extra steps before you even start transcribing.
Slower workflow: If you’re recording, you have to play the entire video in real time. Even with uploads, processing can take as long as the video itself.
Accuracy depends on audio setup: When recording, your device’s audio settings and background noise can affect transcription quality.
Limited for content repurposing: Otter does offer AI Summary, Outline, and chat, but these are limited, especially if you want creator-focused workflows that turn transcripts into blogs, social posts, or other content.
These limitations are why many users look for a better alternative when YouTube transcription becomes a repeat workflow rather than a one-off task.
How to Transcribe YouTube Videos Using WhisperTranscribe (a Better Alternative to Otter AI)
If you transcribe YouTube videos often, WhisperTranscribe gives you a cleaner workflow than Otter AI.
Instead of downloading a file first or recording the video in real time, our tool lets you transcribe directly from YouTube links. It also goes beyond basic transcription by helping you translate and repurpose your transcript in one place.
Step 1: Install and Open WhisperTranscribe and Start a New Transcription
First, install and open WhisperTranscribe on your computer. If you’re new, you can visit our website and download the native app to your Mac or Windows computer. Then start with the free trial, which includes up to 60 minutes of transcription, no credit card required.
Once you have WhisperTranscribe up and running, you can start a new transcription project and move to the upload step.
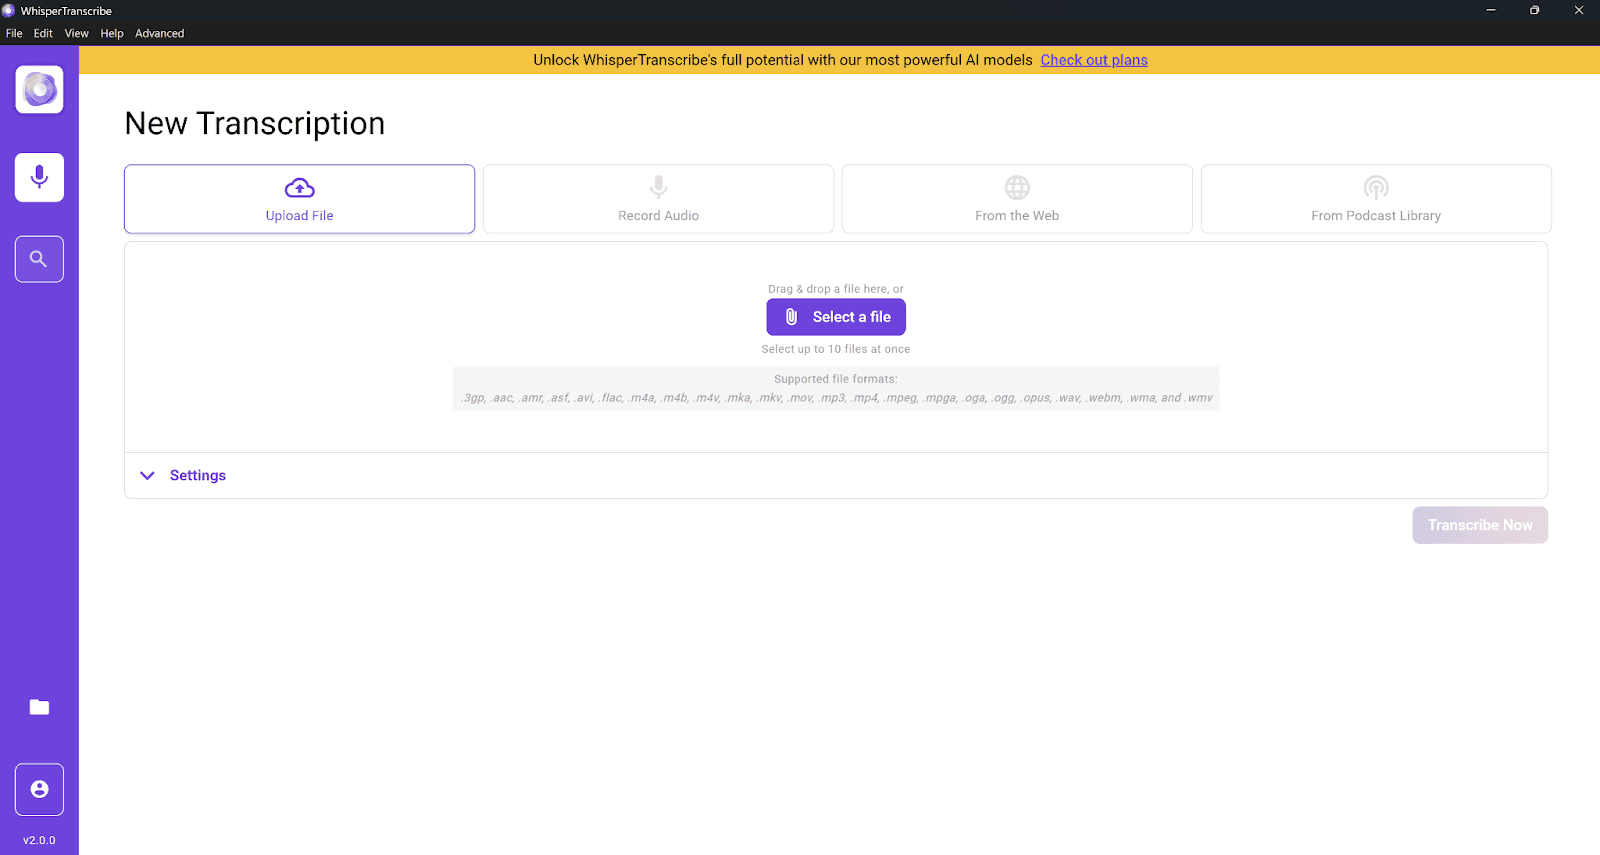
Step 2: Upload Your File or Paste the YouTube Link
Next, you need to get your YouTube video into WhisperTranscribe for transcription. This is where our AI transcription tool immediately feels easier for YouTube workflows.
If you have the YouTube link, simply paste it into WhisperTranscribe using the “From the Web” option. Our tool will automatically pull in the video content and prepare it for transcription.
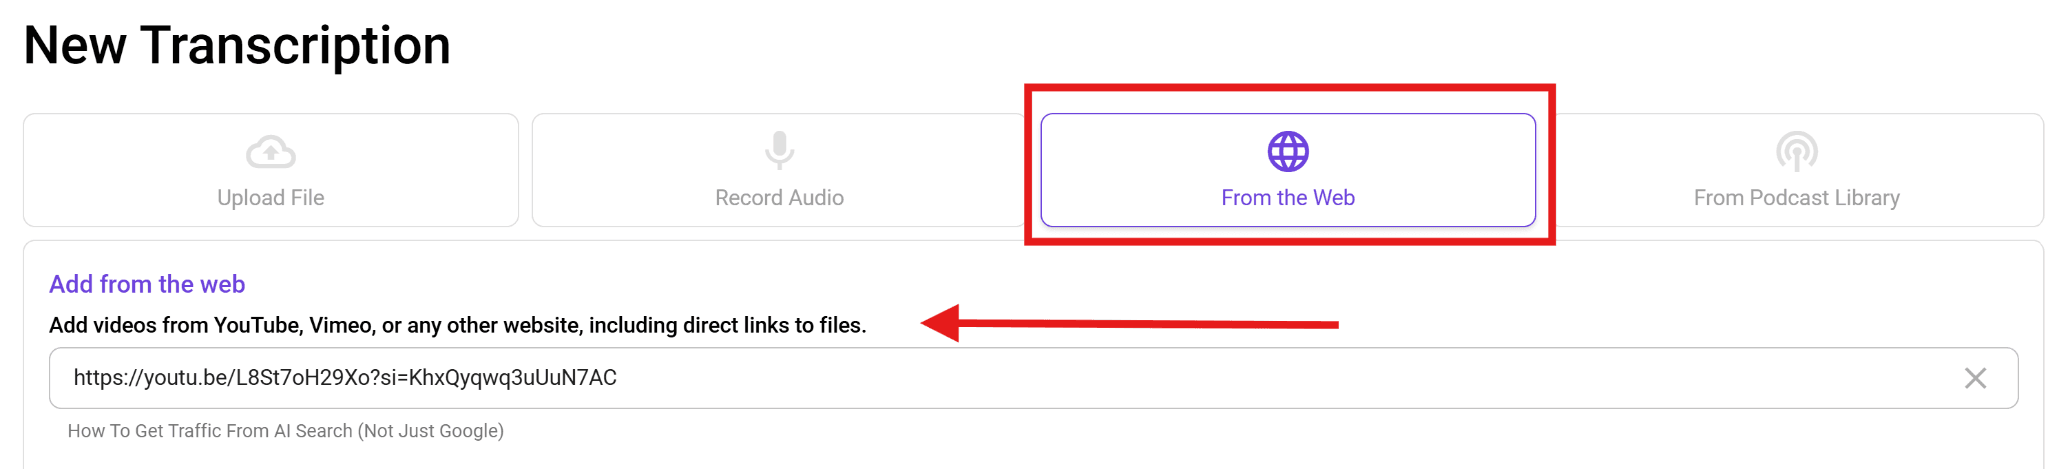
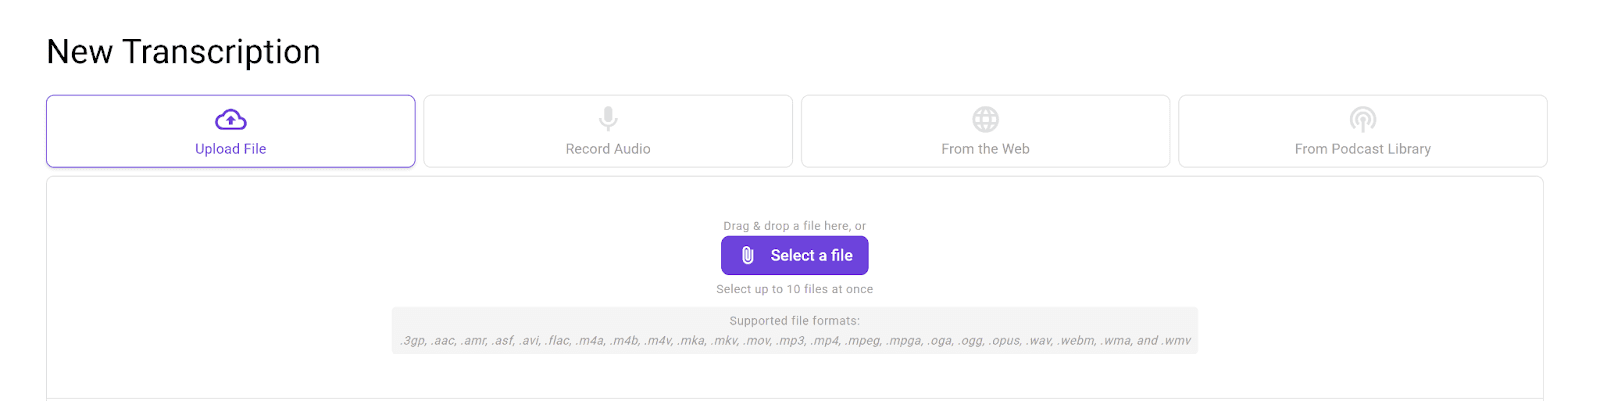
If you’ve already downloaded the video, you can upload it from your computer using the “Upload File” option instead. WhisperTranscribe supports 20+ audio and video formats like MP4, MP3, 3GP, AVI, MKA, MPEG, FLAC, OPUS, OGG, WAV, and M4A, so you usually won’t need to convert anything first.
This flexible upload removes one of the biggest points of friction with Otter AI. You don’t have to rely on a separate downloader just to get started.
Step 3: Choose Your Transcription Settings
Once WhisperTranscribe finishes pulling in the content, you can proceed to choose your transcription settings before transcription begins.
Here, you get to:
Choose a name for your YouTube Video transcript.
Choose the spoken language in the video (we support 55+ languages).
Toggle multiple languages on/off if the video has multiple languages.
Enable speaker recognition to separate different voices in interviews, podcasts, and panel-style videos.

This step takes only a moment, but it improves the quality and structure of the final transcript.
Step 4: Let WhisperTranscribe Generate the Transcript
Once your settings are ready, click Transcribe Now and let WhisperTranscribe handle the rest. Our AI transcription engine processes your YouTube video automatically and turns it into text with up to 95% accuracy.
This is another area where Whispertranscribe simplifies the workflow better than Otter AI, especially if you were considering the recording option. There’s no need to play the full video in real time and keep your setup quiet while it records.
Also, most transcriptions are completed in under five minutes, with a 60-minute file taking around three to four minutes to process. So, you can move on to other tasks faster.
Step 5: Review, Edit, and Translate Your Transcript
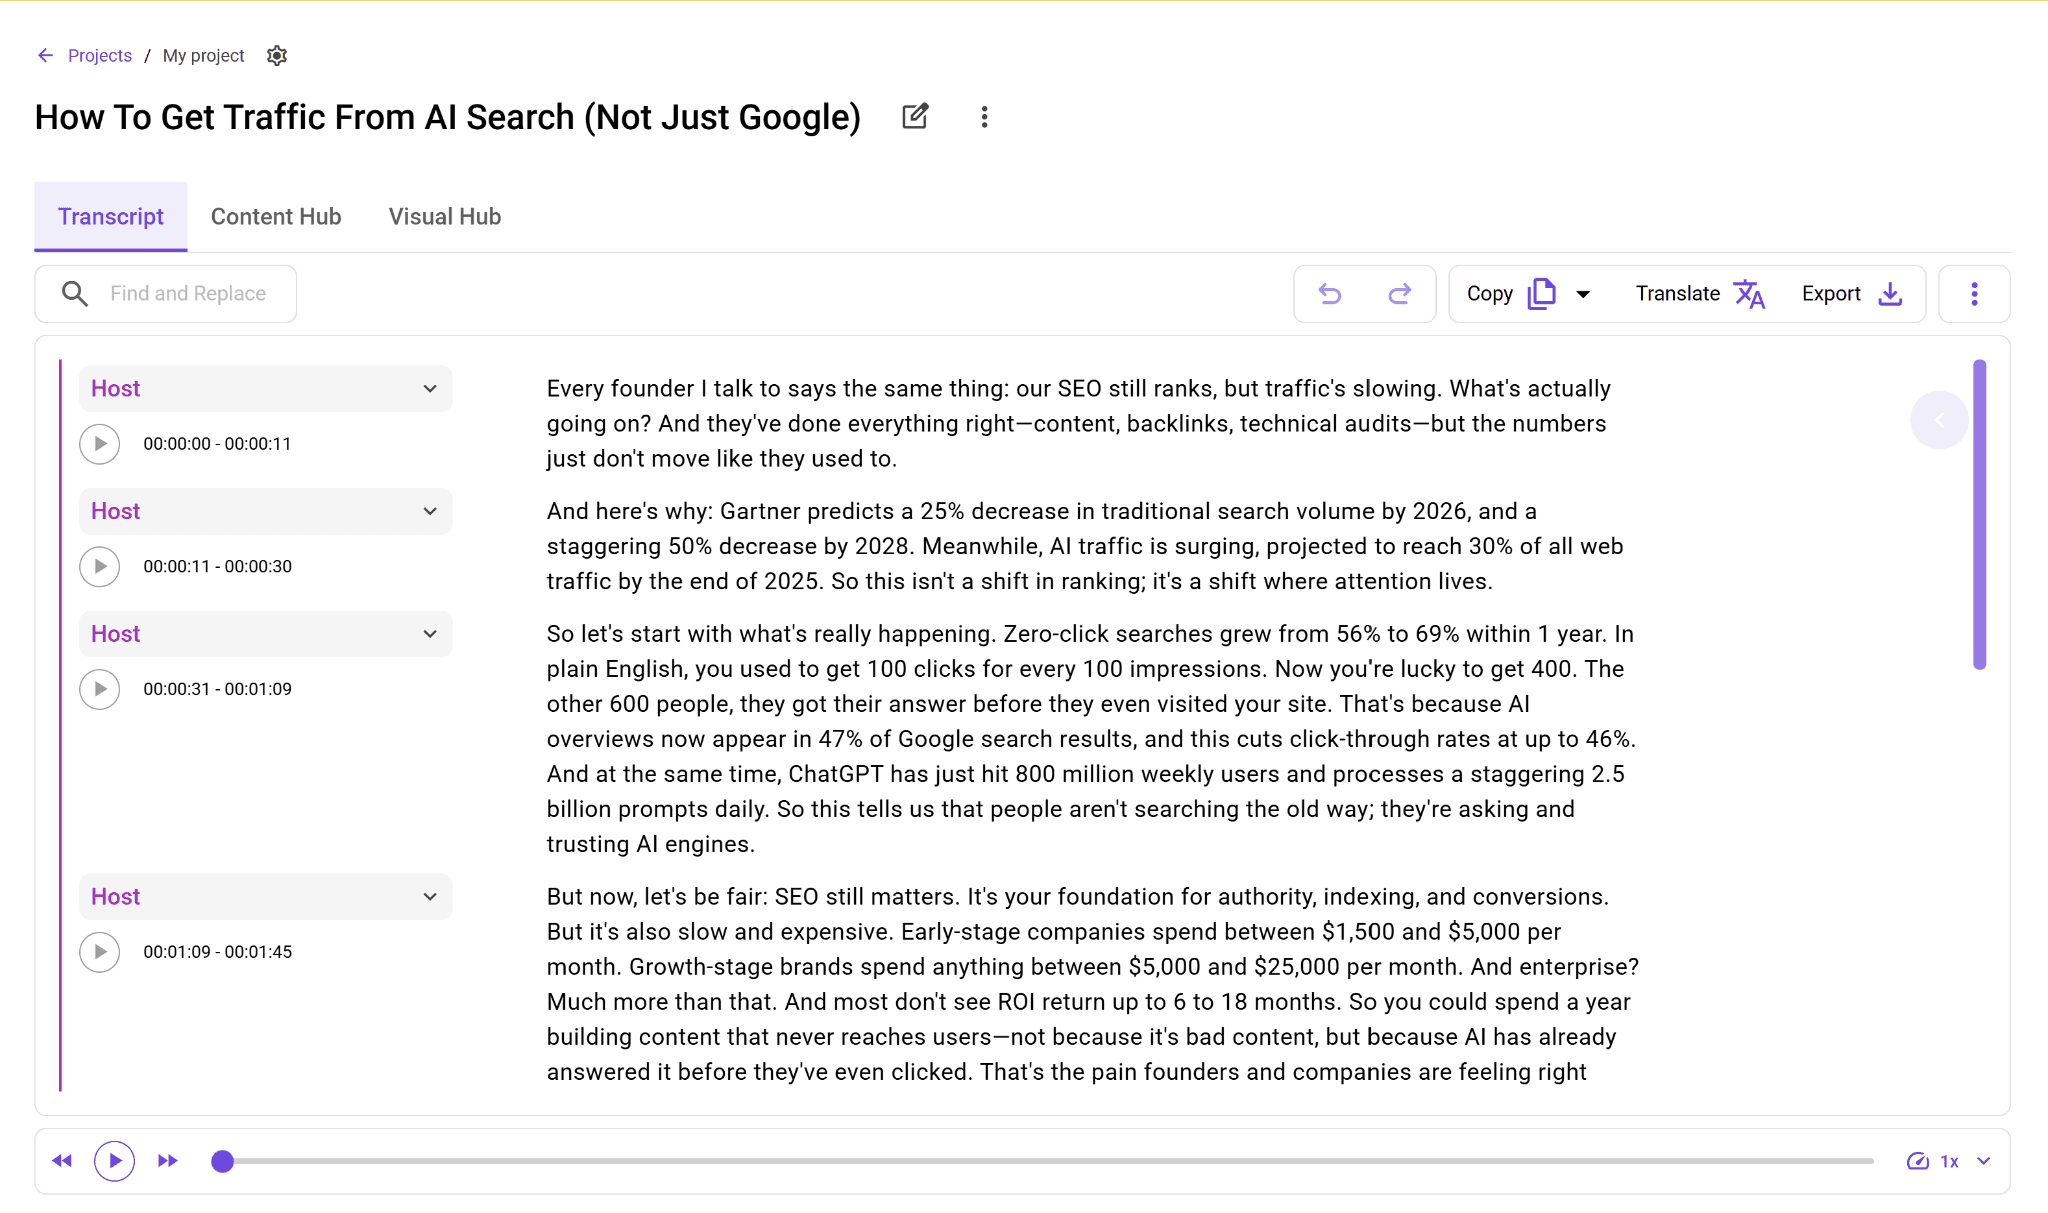
Once the transcript is ready, it opens automatically in our built-in editor, as shown below. From there, you can make quick corrections, clean up sections, and prepare the transcript for whatever you want to do next.
You can also translate transcripts into 99+ languages without losing the timing. Just click the “Translate” button and pick your preferred language from the options available.

This comes in handy when you want to make your transcript accessible to diverse audiences.
Step 6: Export and Repurpose the Content
WhisperTranscribe doesn’t stop at transcription. You can export your YouTube video transcript in formats like SRT, VTT, TXT, and Word, which makes it useful for captions, subtitles, documentation, and publishing workflows.
Beyond that, WhisperTranscribe can turn a single recording into blog posts, summaries, social media snippets, newsletters, AI-generated video clips, and other content assets. Simply switch to the “Content Hub” tab to see the array of content you can generate out of your transcripts.
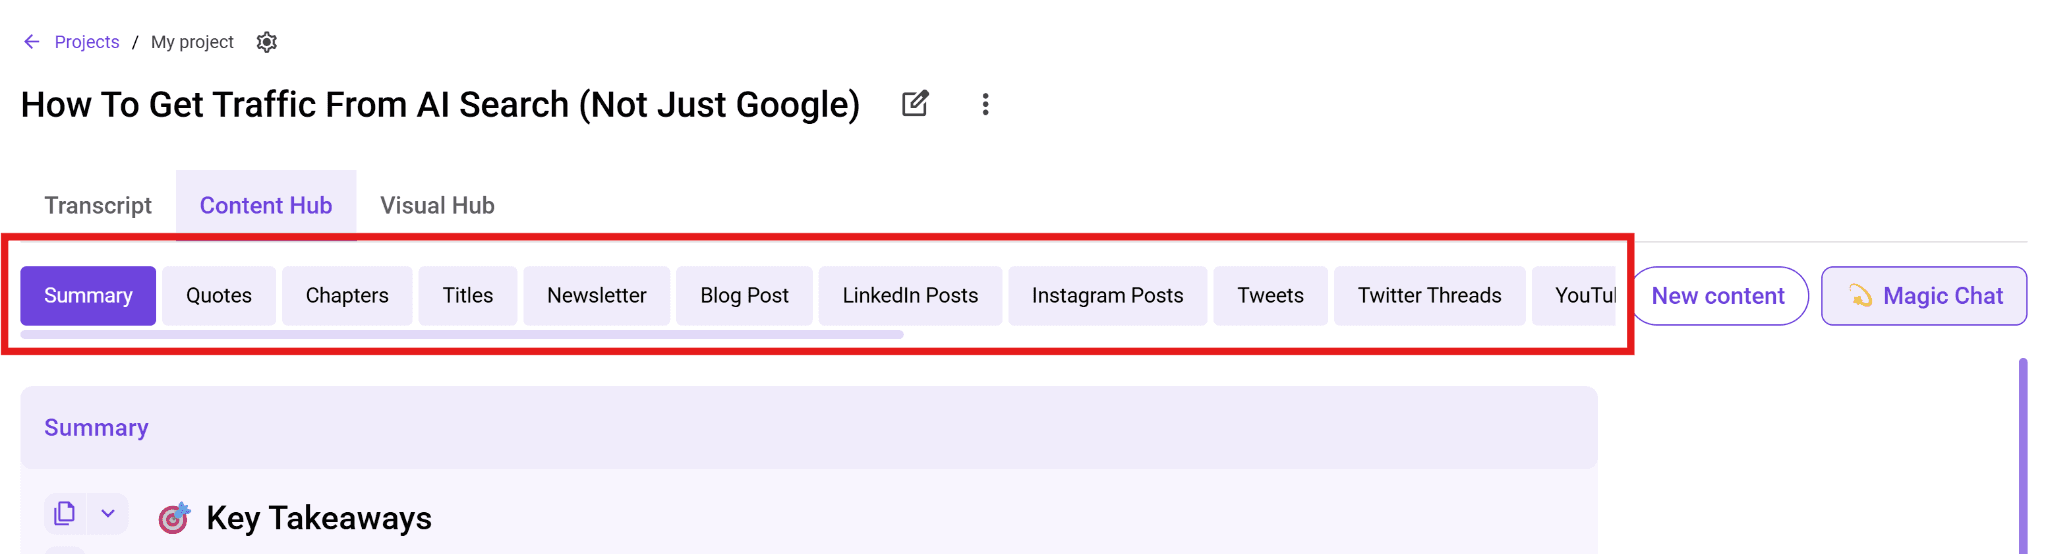
Additionally, if you need to pull out key ideas without reading the whole thing, you can use the “Magic Chat” feature under the content hub to ask questions about the transcript and extract insights faster.
For example, you can ask “What are the key statistics cited in the video?” and our AI assistant provides you with the answer in real time.
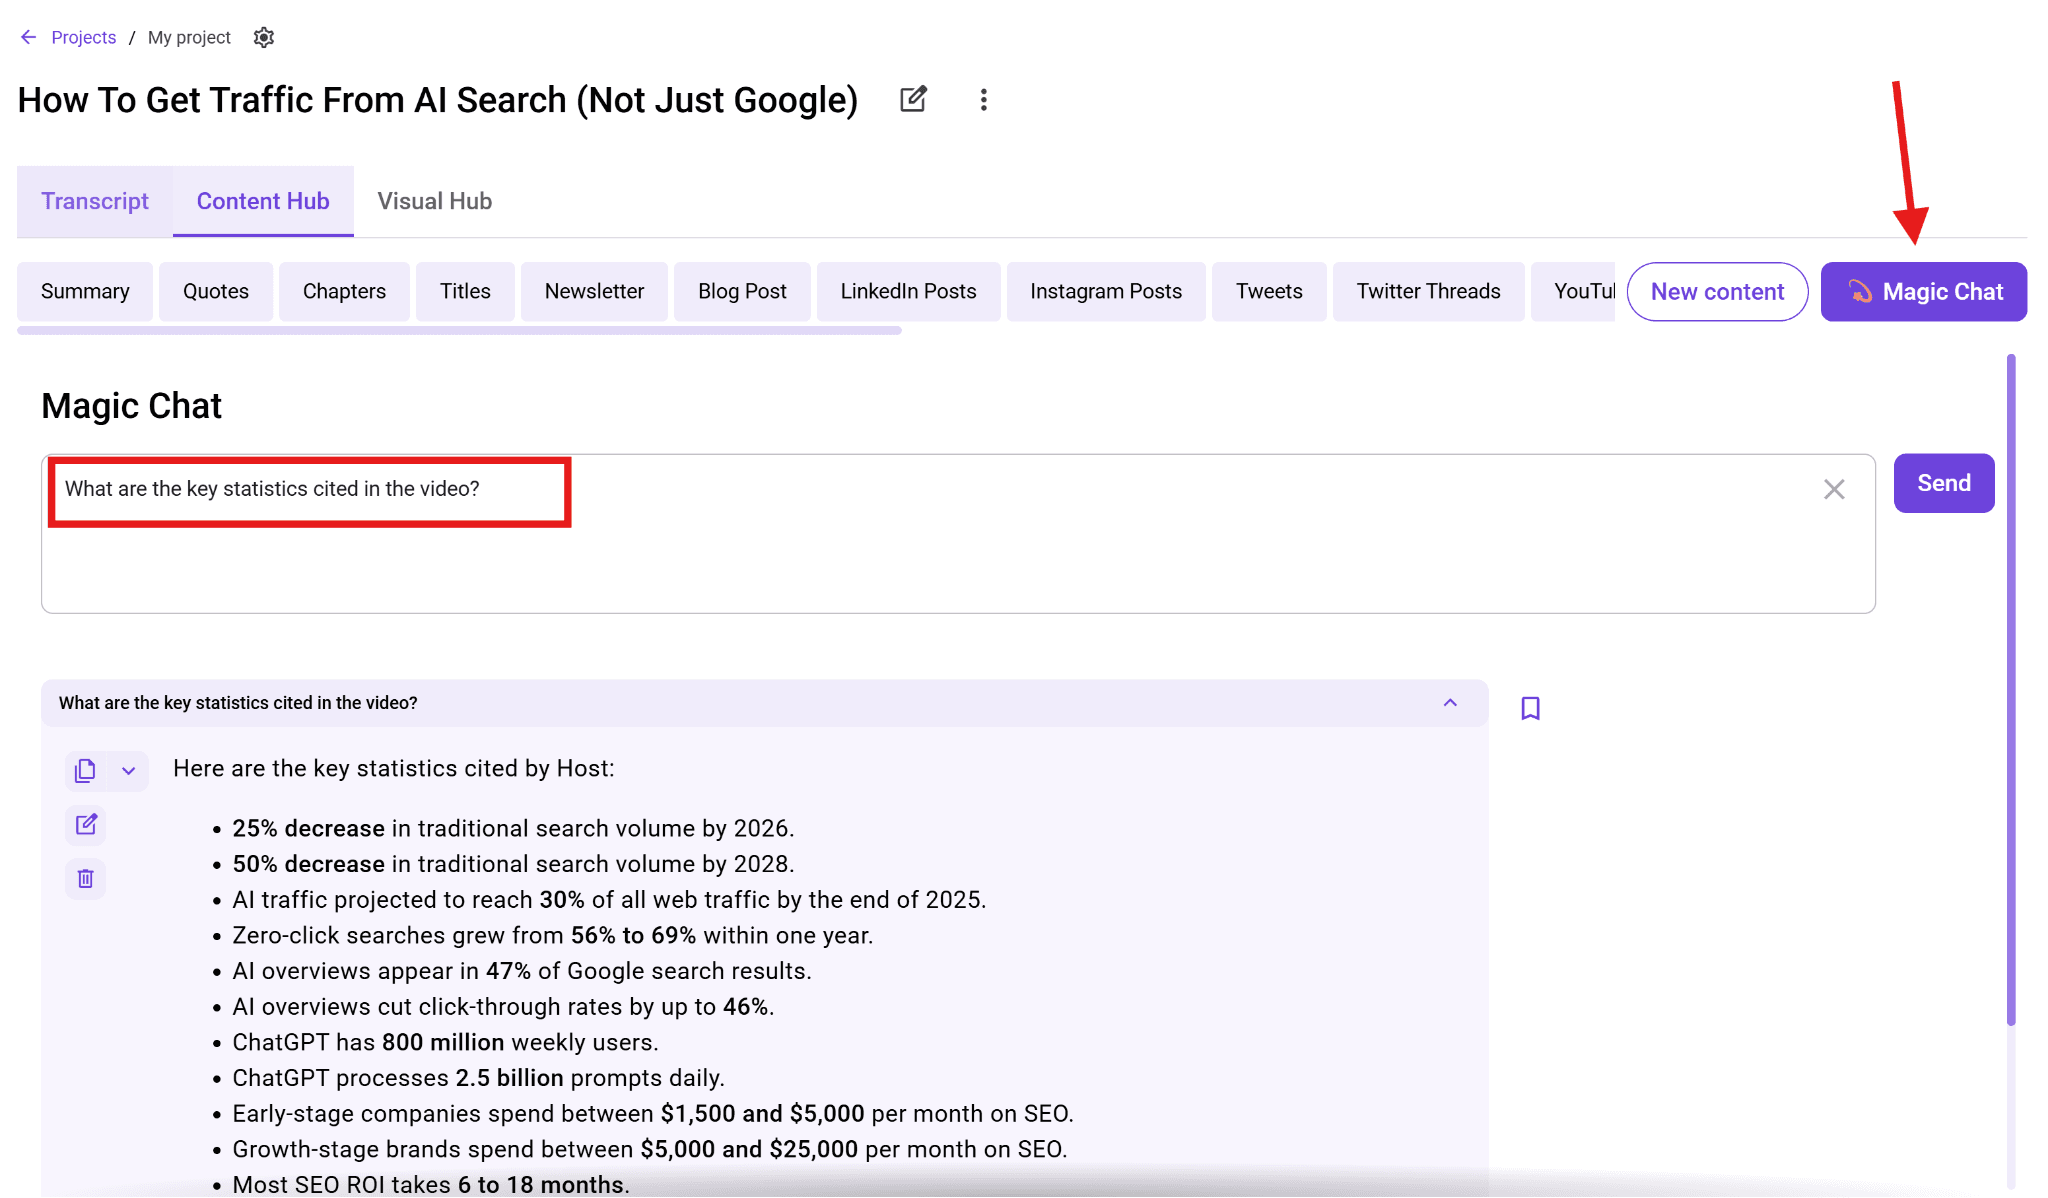
This is especially useful for long YouTube videos where you don’t just want the transcript. You also want the main points, quotes, or takeaways without having to read the entire text.
Best Practices for Transcribing YouTube Videos
The transcription process itself is straightforward, but the quality of your final output depends on a few smart choices before and after transcription.
Select the correct language before transcribing: Always choose the primary language spoken in the video. This helps the transcription engine deliver more accurate results from the start.
Review and clean the transcript: Even with AI, small errors can happen. Fix unclear words, adjust punctuation, and remove filler words to improve readability.
Format based on your use case: If you’re creating captions, keep lines short and easy to follow. For blog posts or notes, use full sentences and proper structure.
Create multiple content assets: Don’t stop at one output. Use the same transcript to generate captions, summaries, threads, or scripts. You can do this automatically with WhisperTranscribe.
Keep a consistent workflow: Use the same process each time to improve speed and maintain quality across transcripts.
WhisperTranscribe Works Better for YouTube Video Transcription
Otter AI is a solid transcription tool for meetings, lectures, and voice recordings. However, when it comes to YouTube videos, the workflow isn’t as direct. You often need to download files first or rely on real-time recording, which can slow things down and add extra steps.
WhisperTranscribe removes these limitations as a better Otter AI alternative. Our tool removes extra setup, supports direct link-based workflows, and helps you do more with the transcript once it’s ready, all without leaving the app.
If your goal is not just to transcribe a YouTube video, but also to turn it into captions, summaries, posts, or blog content, it gives you a more complete workflow from start to finish. The best part? You get 60 minutes of free transcription of your favorite YouTube videos, with no credit card required.
Try WhisperTranscribe for free today.

